How to Tape Collie & Sheltie Puppy Ears: The Wyndlair Way
This article was originally published in the June 2021 issue of Collie Expressions Magazine. The online version has additional details and pictures, plus our how-to video.
Instructional Video and Guide
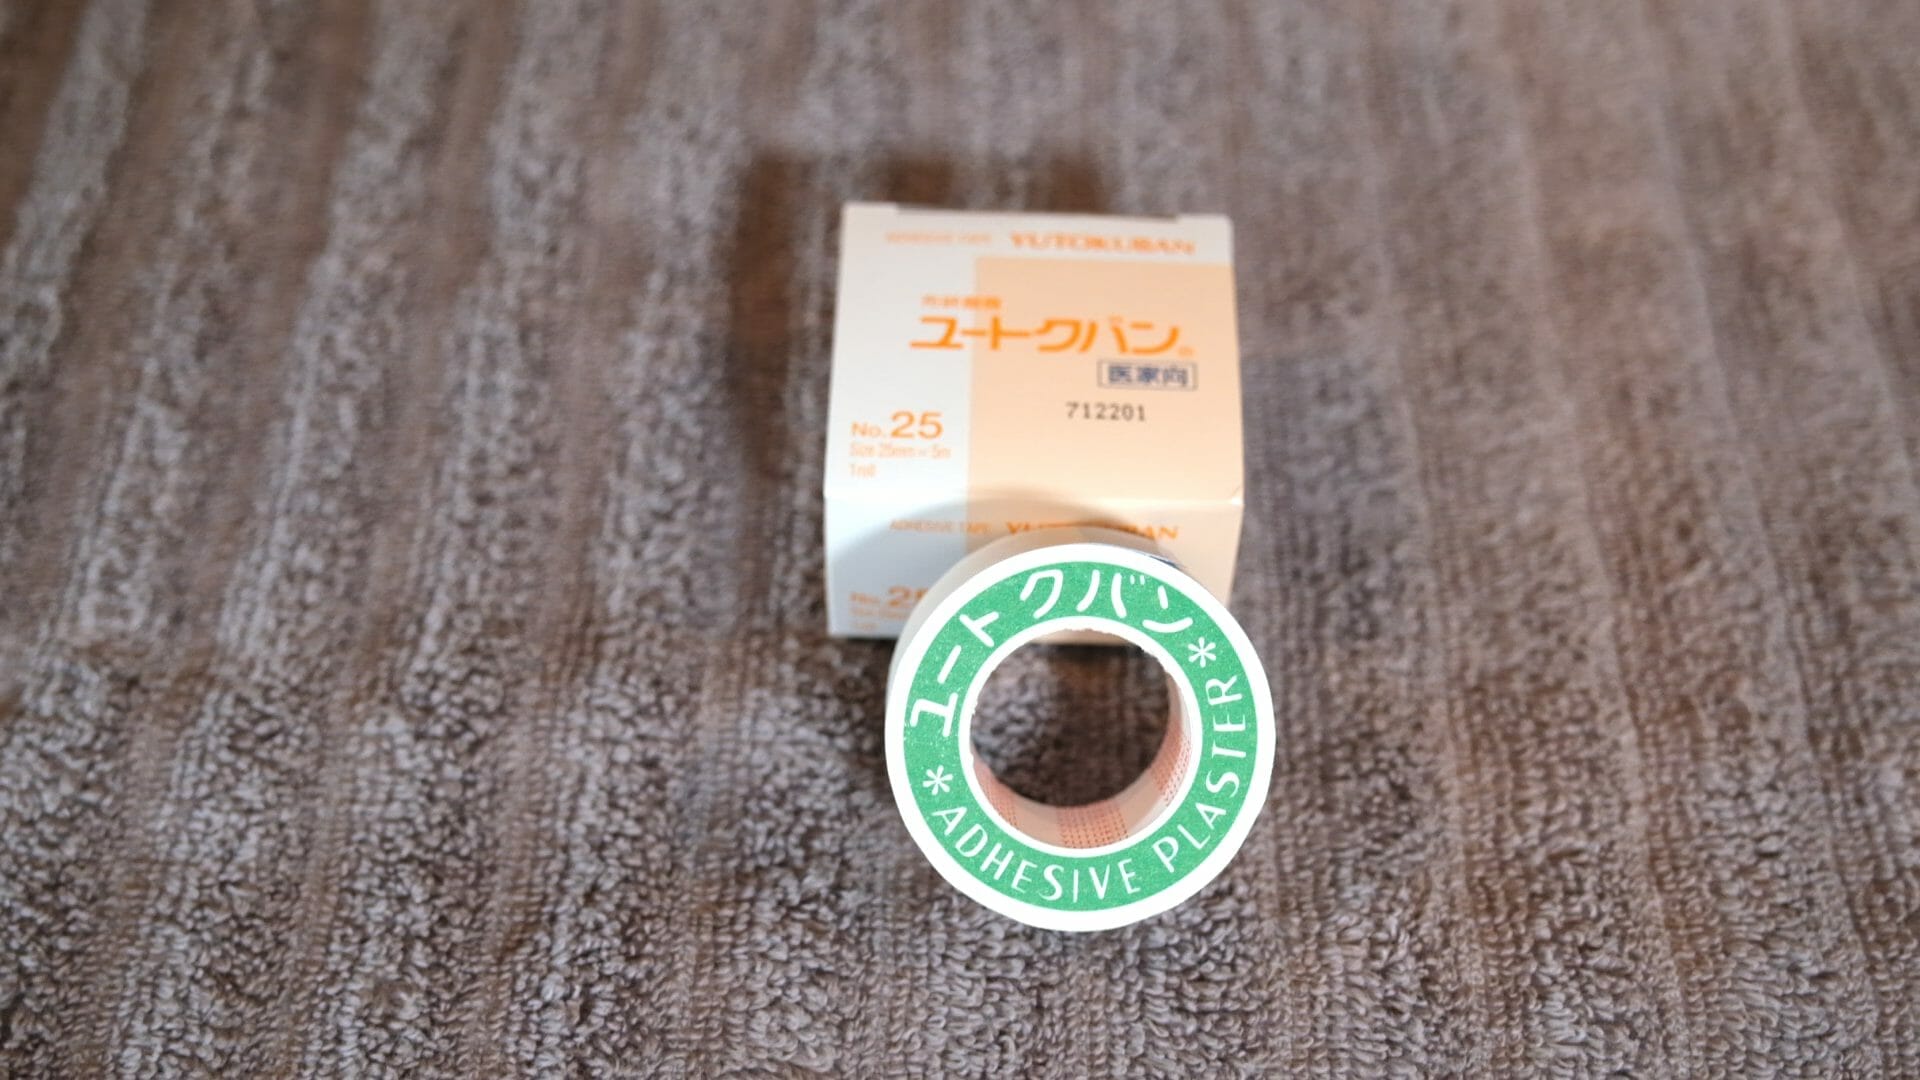
NOTE: Yutokuban Japanese Tape and Zo-Eze adhesive remover (both mentioned in the video) have recently been discontinued. In their place, we recommend Nichiban tape and ConvaTec ESENTA Adhesive Remover Spray.
Do you struggle with taping Collie or Shetland Sheepdog puppy ears? Bracing ears can be frustrating, even for experienced breeders. Let’s face it; there is no gratification wrestling a puppy to glue, stick, or tie ears into place – only to watch them shake out minutes later.
In this how-to guide, we will share the Wyndlair Way for bracing Collie and Sheltie puppy ears. We’ve developed the easiest, most effective ear taping method for great results. While not a replacement for breeding correctly shaped and set ears, this method will maximize what you have. We’ll explain the tips and techniques necessary to ensure success. When done correctly, these ear tapes will hold for weeks – requiring removal due to the ears outgrowing the tapes rather than them loosening and falling out.
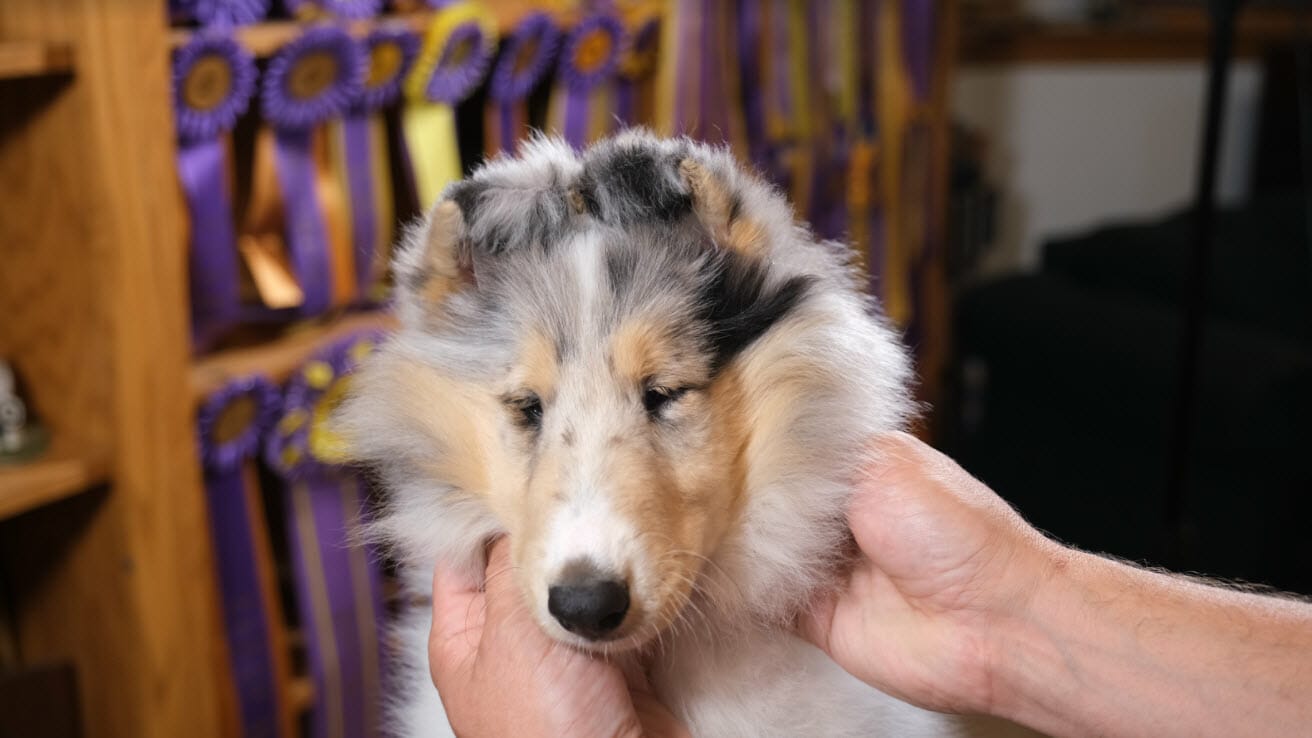
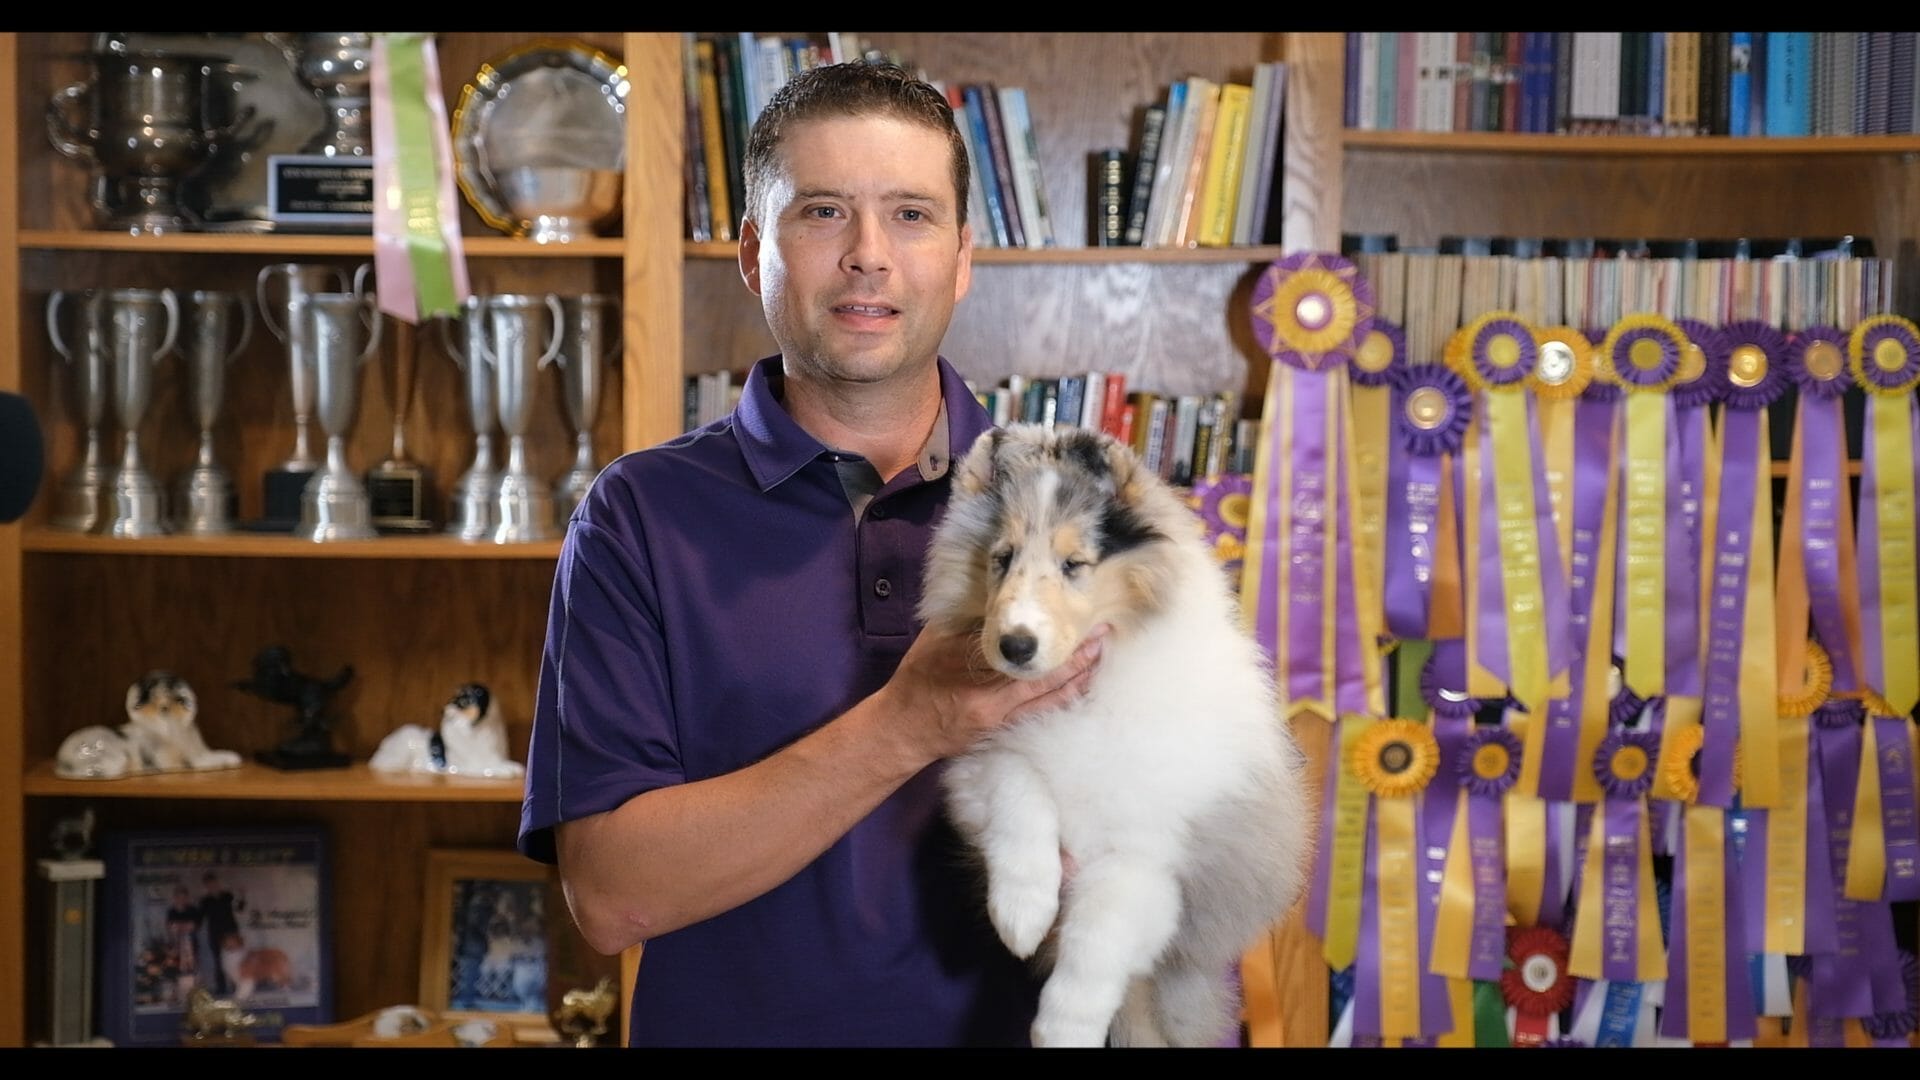
For Collie puppies, we begin taping at 7 weeks of age. For Shelties, it would be closer to 8 weeks of age. It is important to remember in your puppy evaluations, eye shape and expression cannot be accurately assessed until the ear are pulled up into their adult position.
Ear Taping Materials
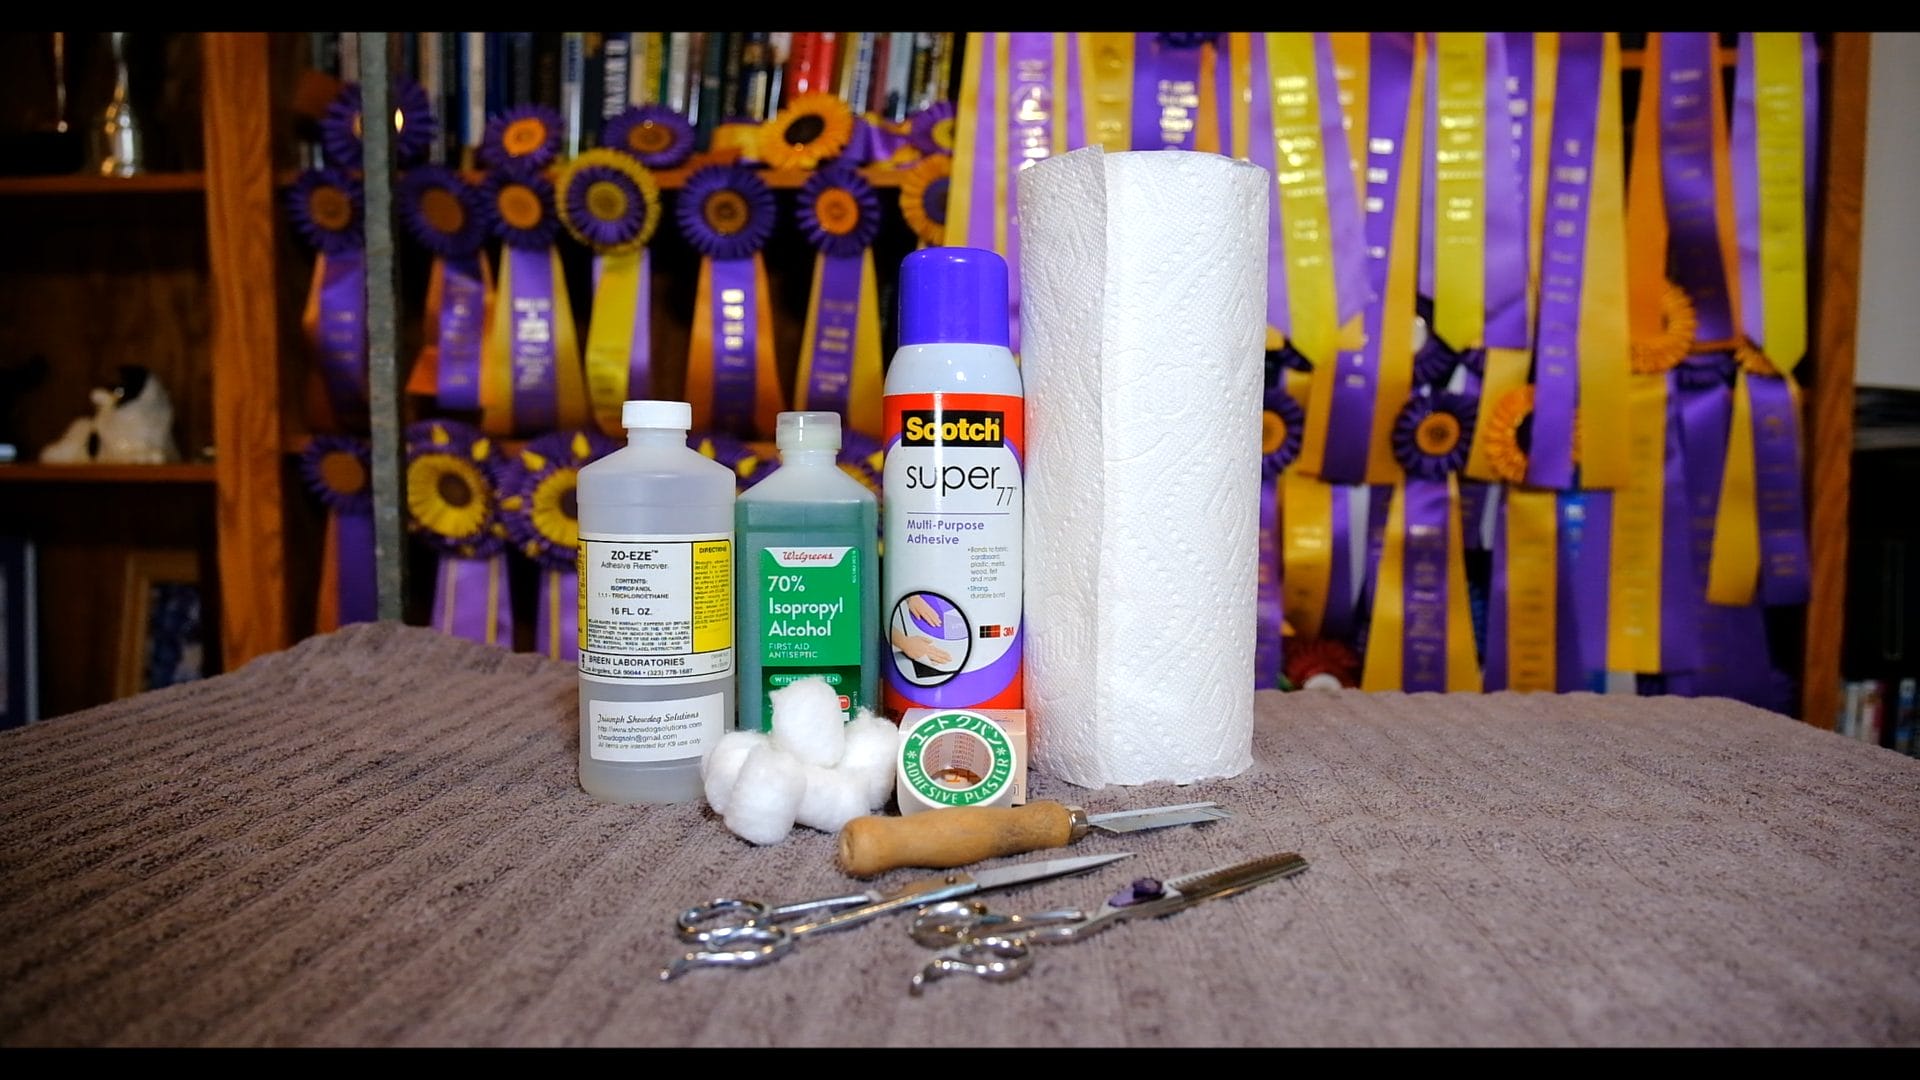
This taping method requires several items and tools. Some are premium products, but their cost is well worth the result. The following materials are needed:
- Nichiban Japanese tape
- Scotch Super 77 adhesive spray
- ConvaTech ESENTA Adhesive Remover Spray
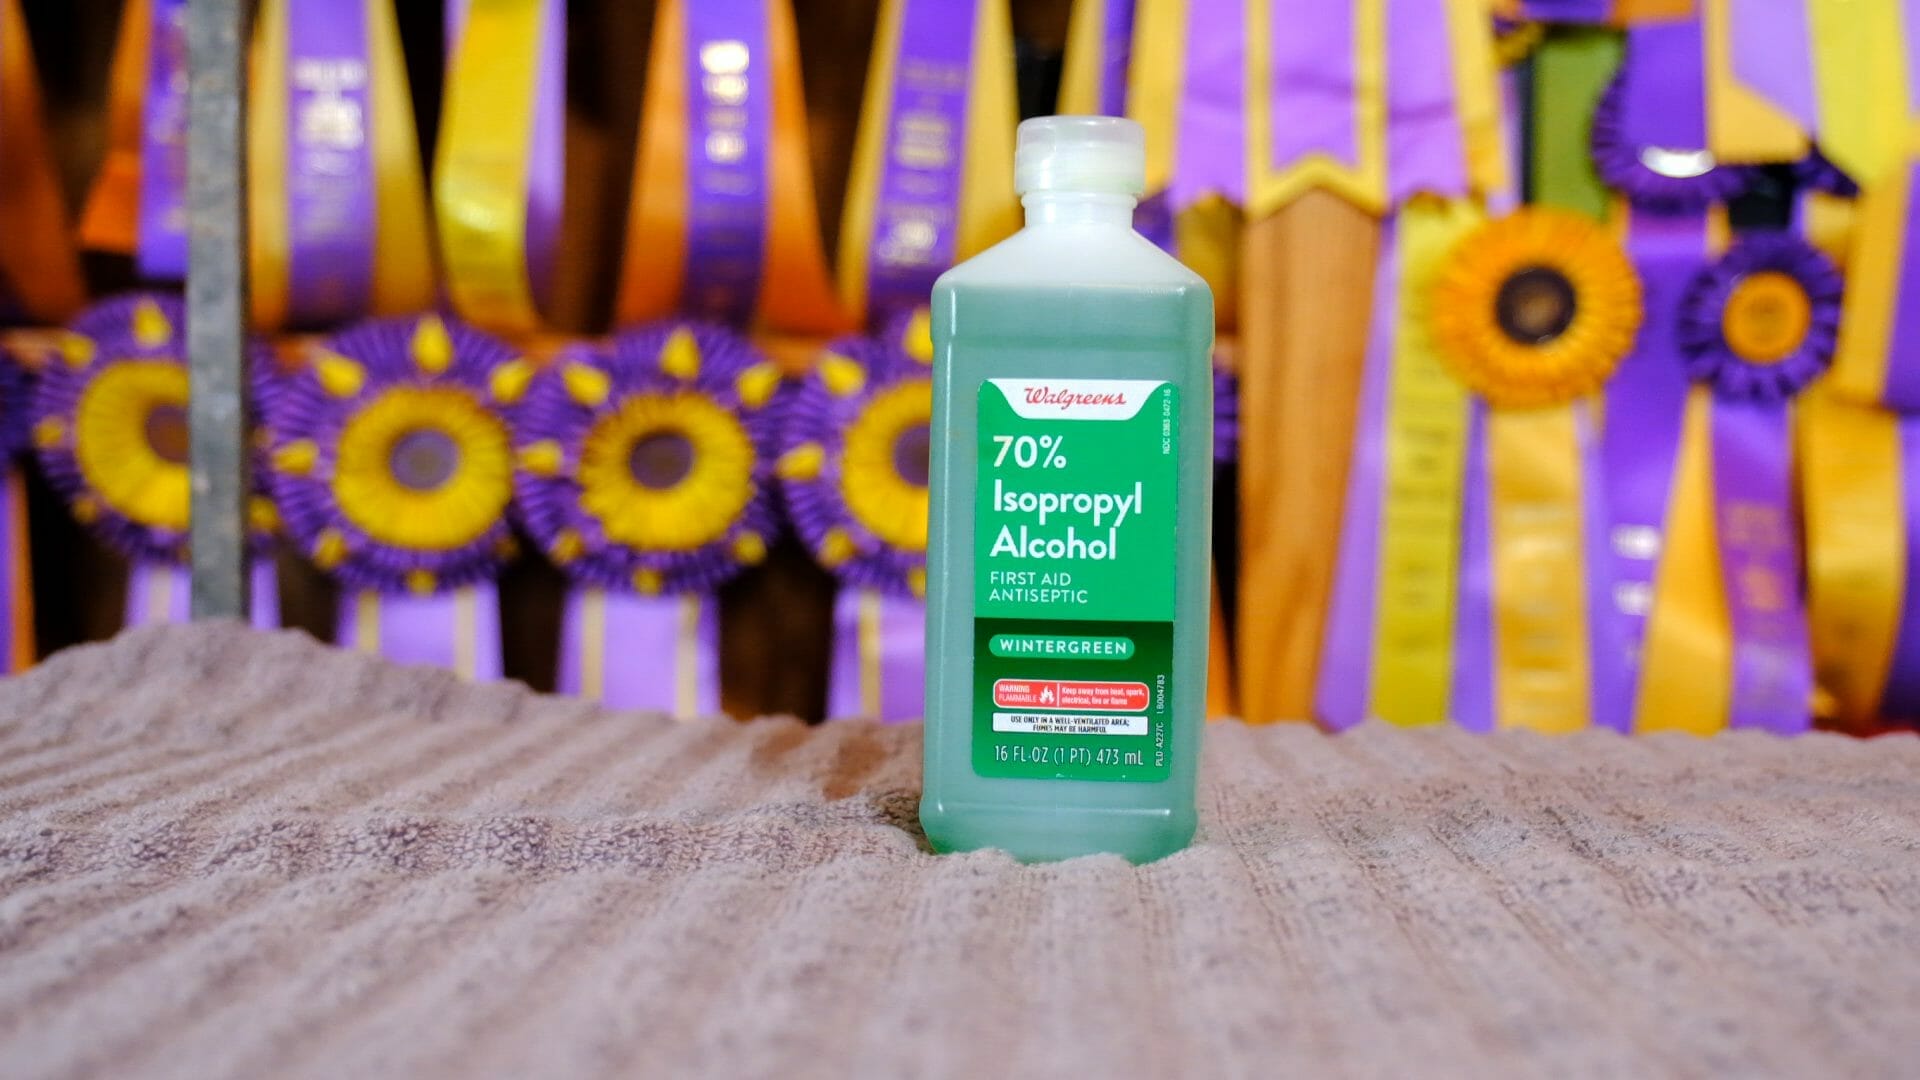
- Rubbing alcohol (wintergreen-scented, 70% isopropyl)
- Large Cotton balls (real cotton, not synthetic)
- Flea comb
- Paper towel
- Scissors
How To Tape Collie & Sheltie Puppy Ears
There are four steps to taping Collie and Shetland Sheepdog puppy ears with this method:
- Ear Preparation
- Tape Individual Ears
- Cross Brace
- Tape Ear Tips Over
1. Ear Preparation
If the puppy’s ears were taped previously, remove all tape and adhesive residue using Zo-Eze, cotton balls, and a flea comb. Leave ears out of tapes for 12-24 hours before retaping.
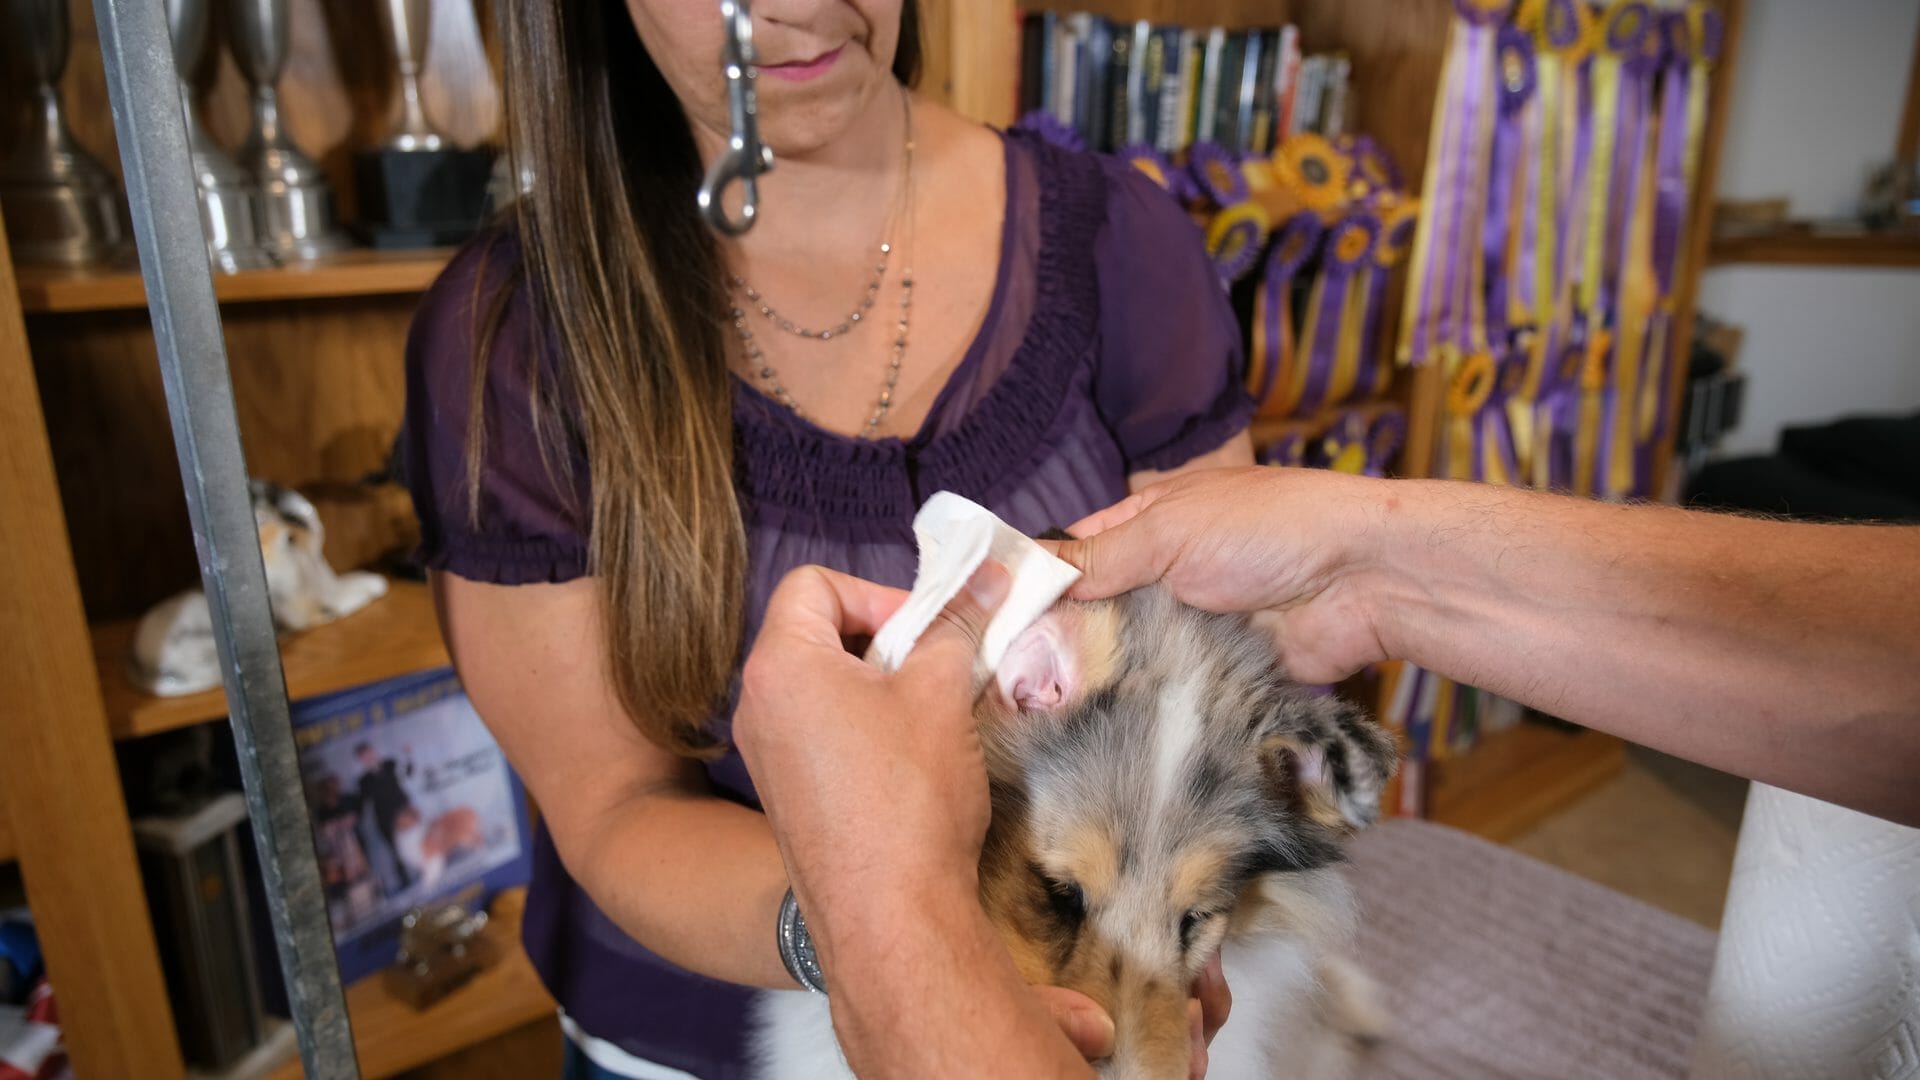
Clean the Ears
The first step is to completely clean the ears. It is critical to remove all the oil from the ear or the tapes won’t stick properly. Residual oil is the #1 reason that ear tapes fail.
It is important to use real cotton balls rather than the synthetic variety, which does not absorb oils. We prefer wintergreen-scented rubbing alcohol for a more pleasant smell. The green color also helps visually differentiate the bottle from Zo-eze, which resembles regular rubbing alcohol in both appearance and odor.
Soak a cotton ball in rubbing alcohol and clean the ear thoroughly. Work from outside in and take care not to wipe ear wax back onto cleaned surfaces. Repeat until all visible wax is removed and the cotton balls come out clean.
PRO TIP: While it is critical to get the ear leather oil-free, be gentle. If the skin gets aggravated, it will stimulate a sweating response that brings more oil to the surface. It is a delicate balance. If any perspiration comes to the ear surface, let the ear rest for 12 hours and retry. It is pointless to tape ears that have been irritated as the tapes will not stick properly.
Dry the Ear
After cleaning with rubbing alcohol, fold a piece of paper towel and dry the ear. Begin by blotting, then wiping the ear. The paper towel fibers will grab residual oil that the cotton balls did not. Next, let the ear air dry for a few minutes.
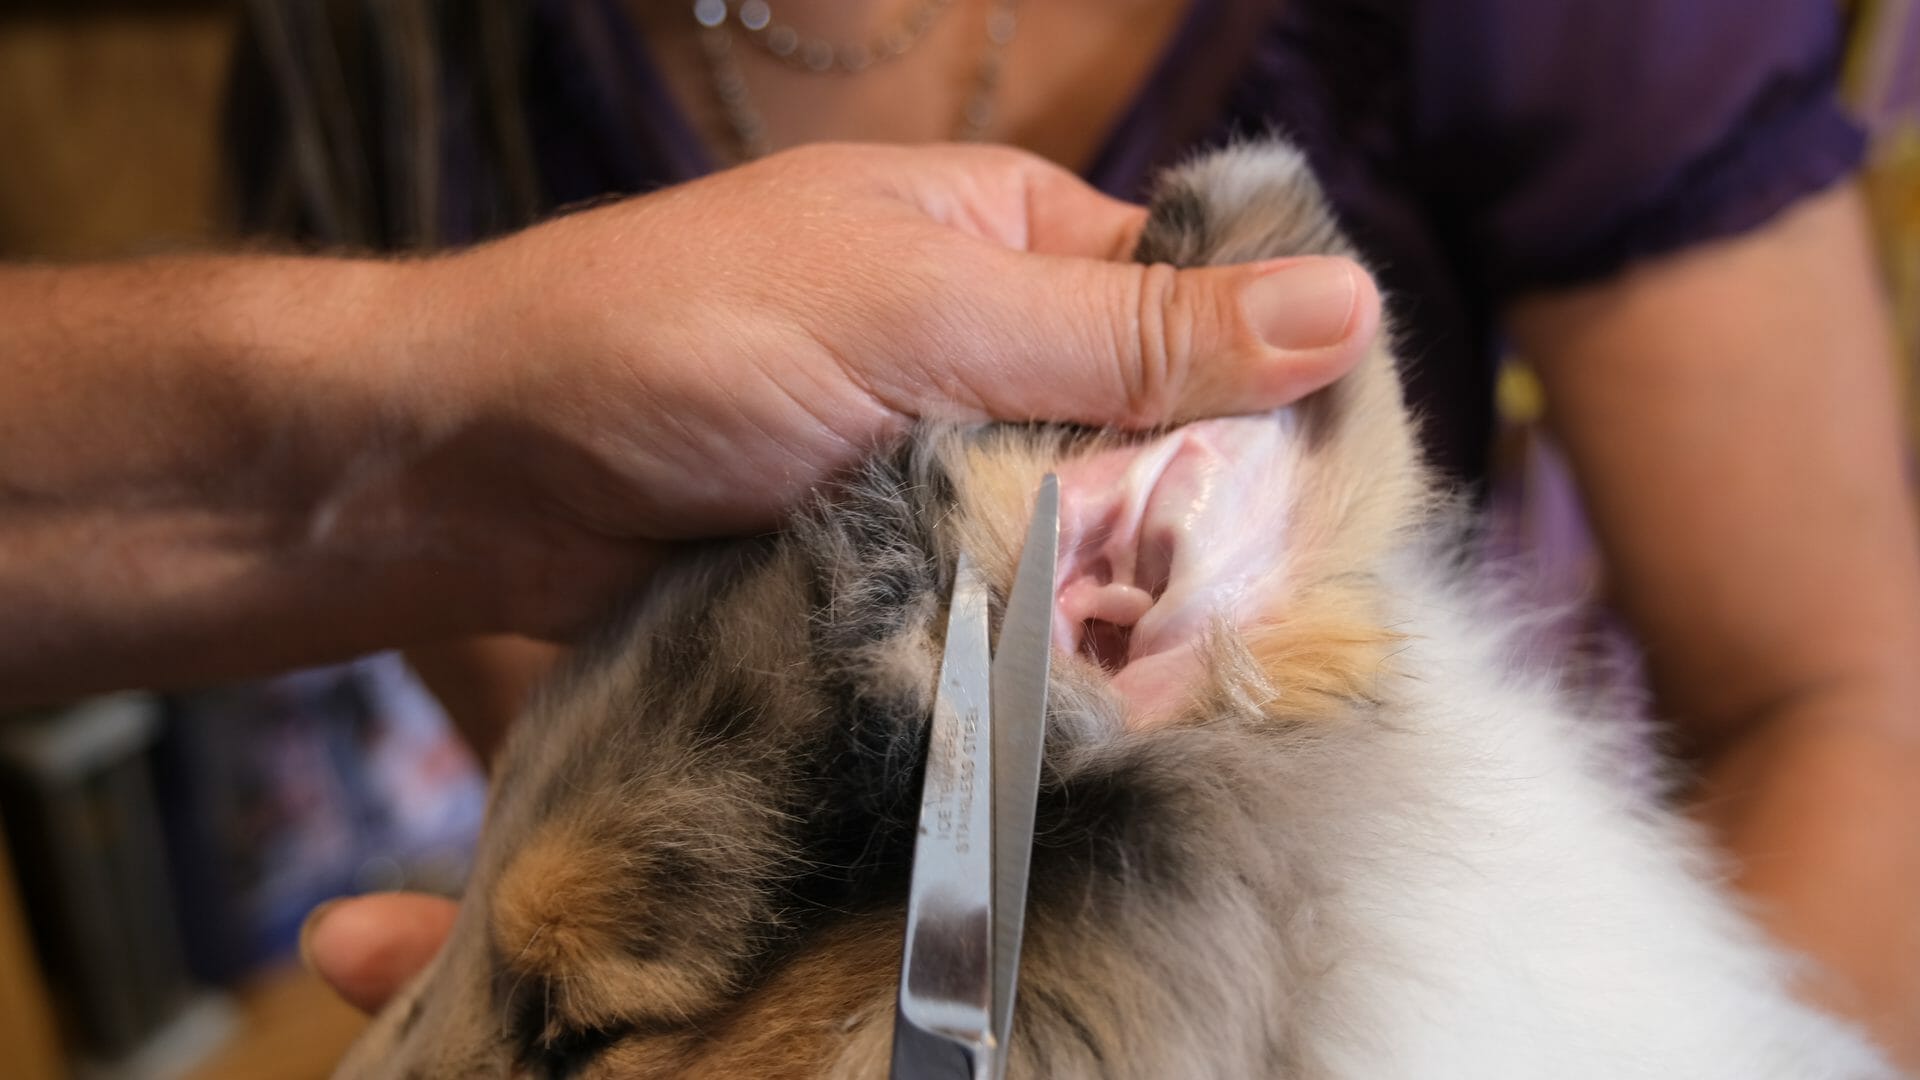
Trim Ear Hair
Trim excess hair inside the ear. It isn’t necessary to scalp the ear; however, the less hair in the ear, the better the tapes will stick and the less chance for irritation. If the puppy will be shown at a puppy match or have pictures taken with ear tapes out, leave a little more hair to keep an attractive, natural look.
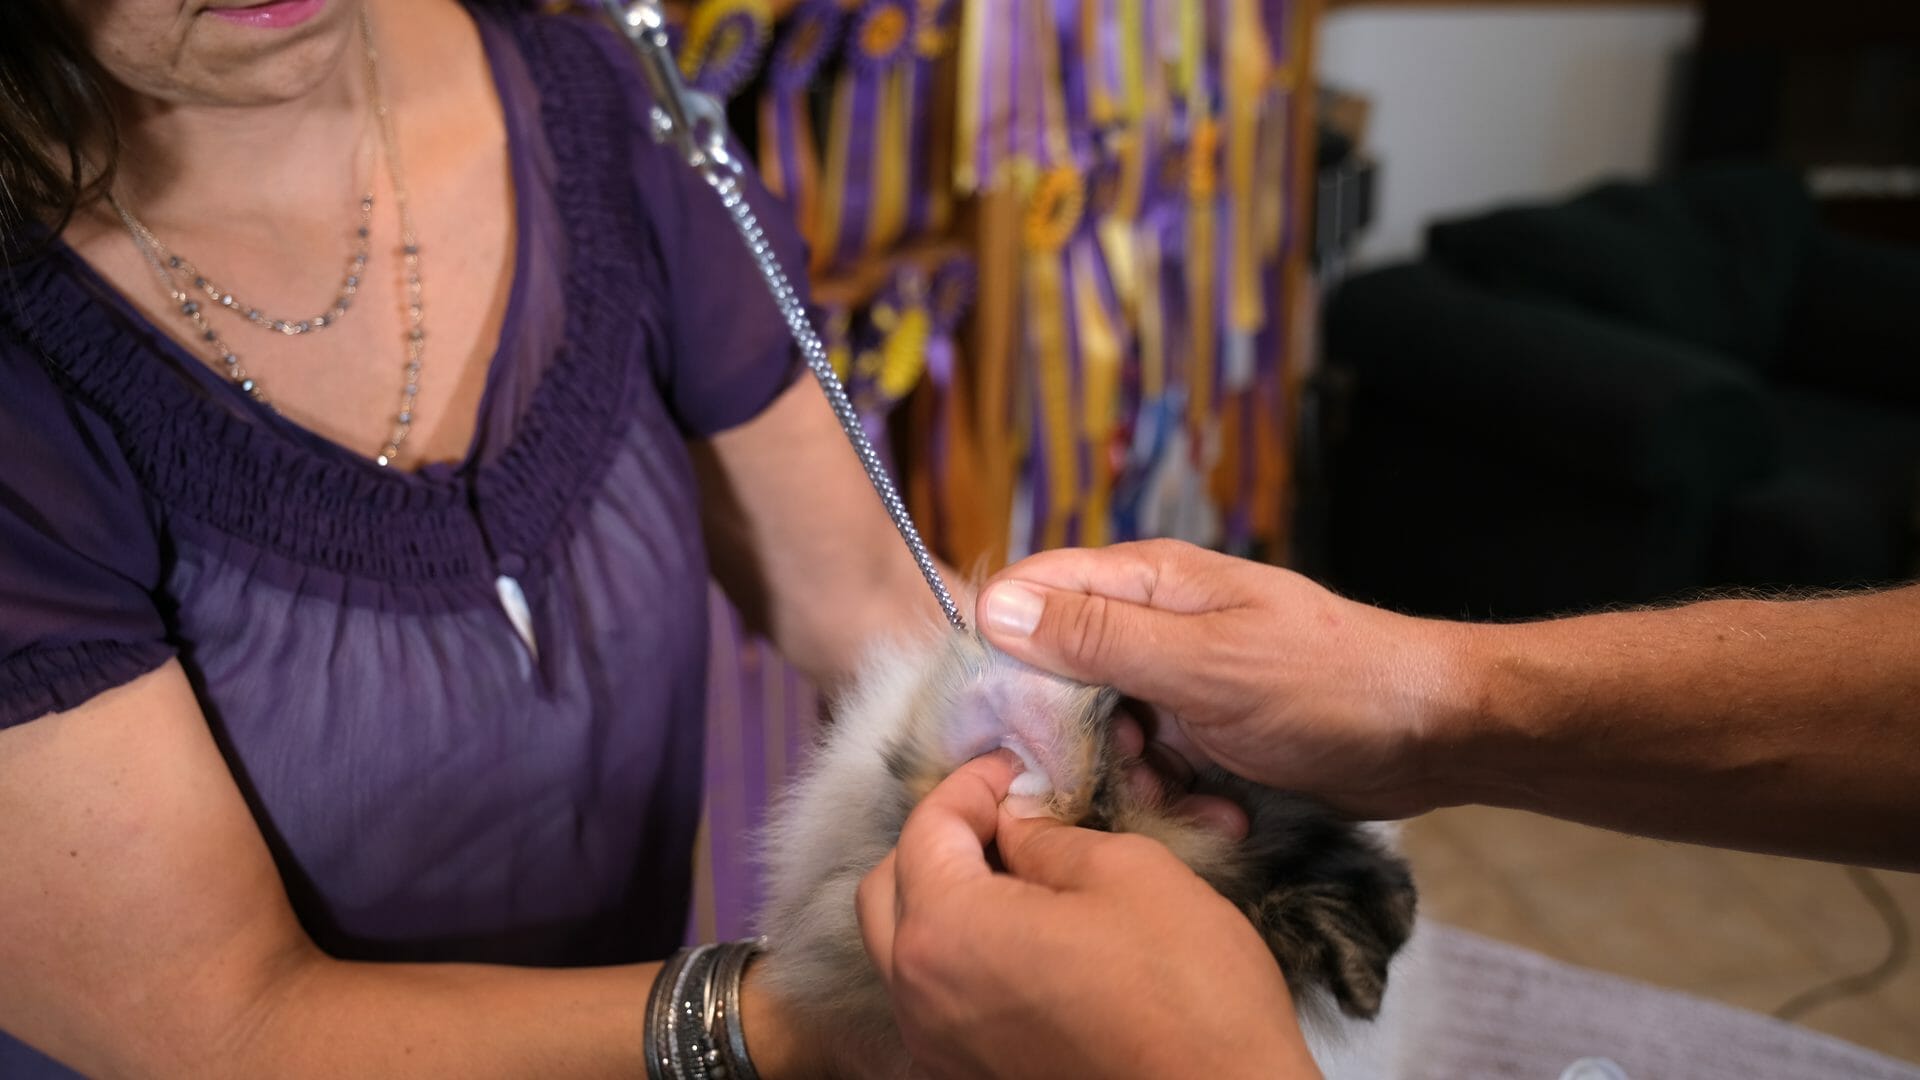
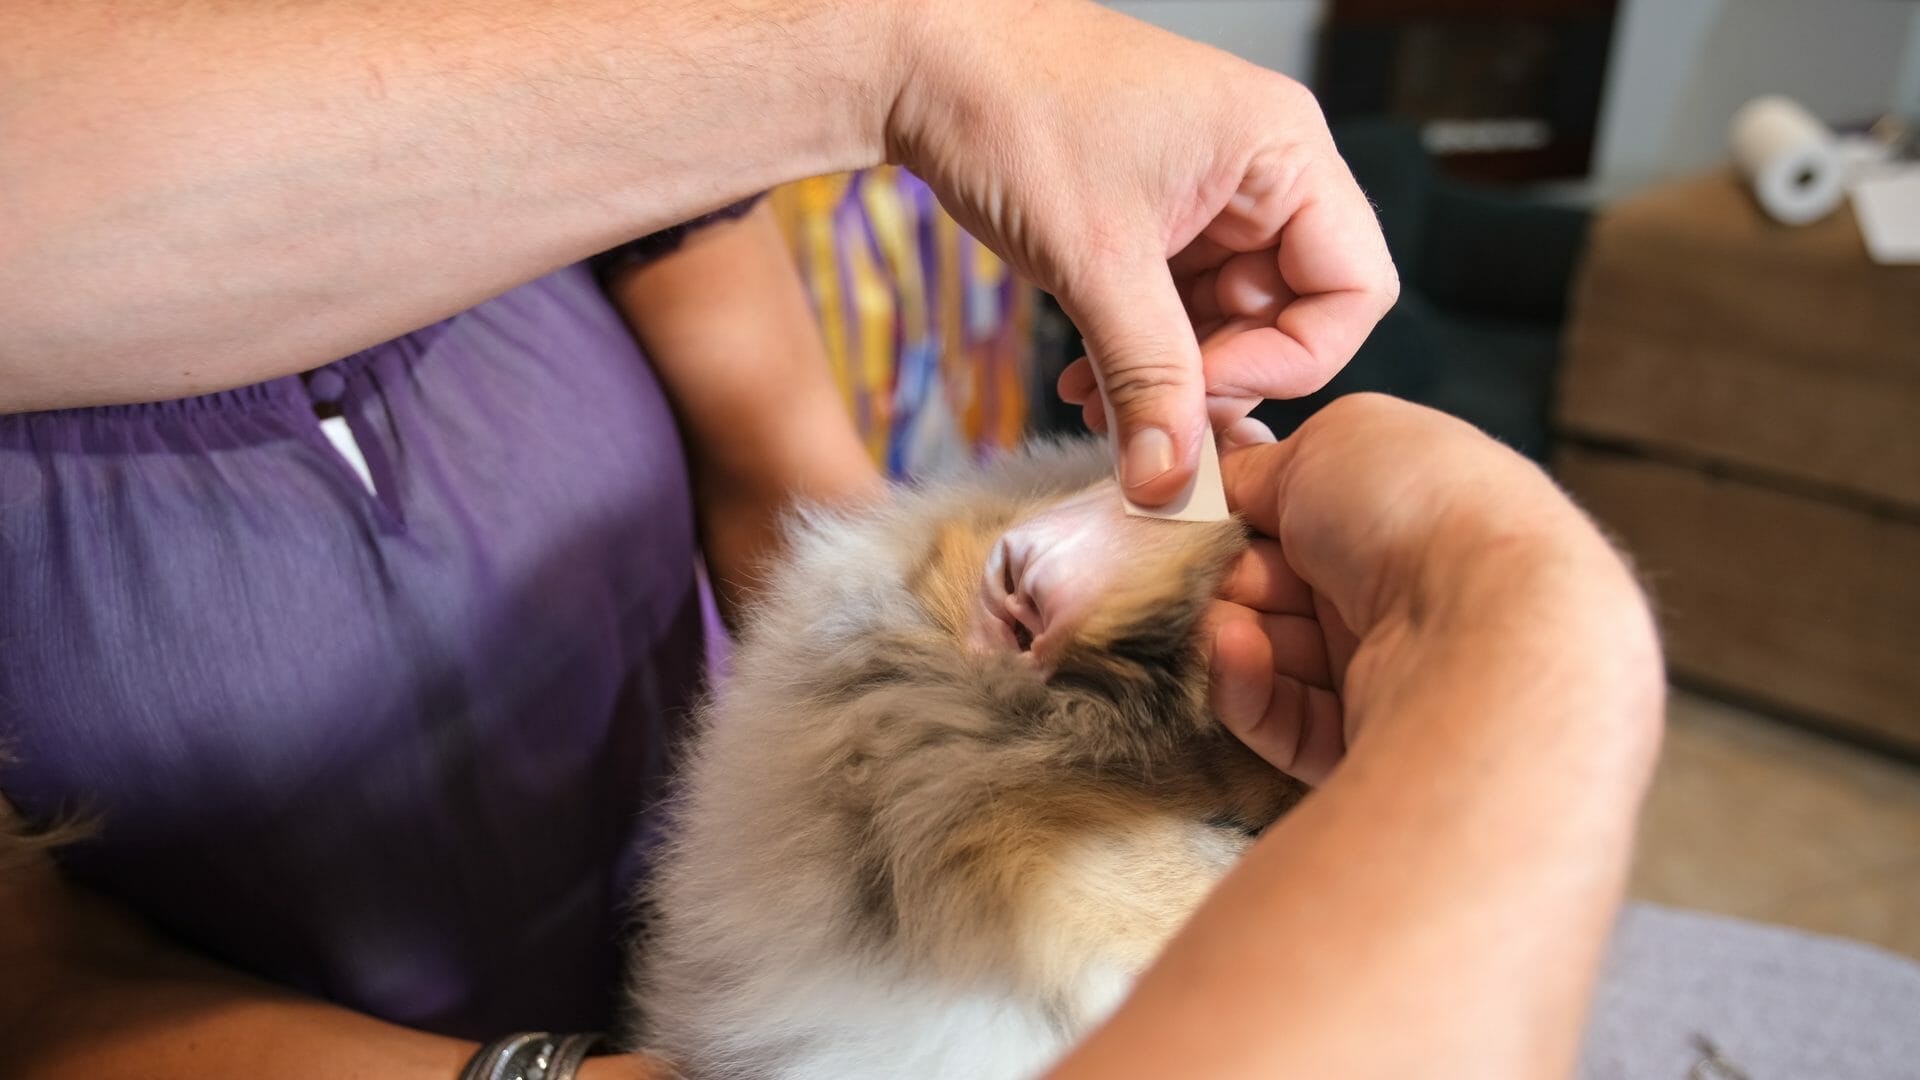
Wipe the Ears with Tape
Finally, wipe the ear surface with a strip of Japanese tape. The tape will grab any remaining oil that would prevent the tapes from sticking. Again, be gentle as rubbing too hard will irritate the skin and stimulate more oil production. Several strips may be necessary. When the tape begins sticking to the skin instead of sliding across the ear, the skin is oil-free, and you are ready to begin taping.
2. Tape Individual Ears
To tape Collie & Sheltie ears, we now use Nichiban Japanese tape instead of Yutokuban. It is a surgical tape that adheres well to the skin without irritating it or causing discomfort. It outperforms anything else made.
Main Strip – Begin by cutting the main strip to run up the middle of the ear – its length should run from just above the little knob (antihelix) inside the base to near the ear tip. Avoid touching the adhesive side of the tape. Mist the backside lightly with Scotch Super 77 adhesive spray and let dry a few moments before applying to the ear. From the inside base of the ear, place the main strip just above the small knob and apply it straight up toward the ear tip. Be sure to press and hold the tape in place, as the heat and pressure from your thumb will help set it and stick to the skin. This is an important step.
Supporting Strips – Next, cut two supporting strips for each ear. These strips are shorter than the main strip and serve to reinforce the ear leather. Apply one to each side of the main strip to form a pattern somewhat resembling a peace sign: ☮
For Shelties, depending on their age, often just the main strip will provide enough support for the ear. Apply supporting strips if necessary.
If necessary, use additional tape strips to brace any weak or soft areas that want to crease or fold, especially when the ear is pulled up on the head. Focus on supporting the natural cupped ear structure that is shaped like a tulip leaf. Avoid taping the ear flat across. Apply tape strips until the proper shape is achieved. The older the puppy (and the larger the ear), the more strips that may be required.
3. Cross Brace
The cross brace is a crucial step for success and it is important to do it properly. Cross bracing is necessary until 6 months of age – longer than what most tutorials instruct. Until six months of age, the earset can begin to relax without a cross brace. In puppies over six months of age, skip the cross brace and jump ahead to taping the ear tips over.
NOTE: For new puppy owners, the cross brace is the most difficult part of the process. However, it is also the least critical, particularly for dogs that won’t be shown. If you struggle with this step or don’t have an extra set of hands to assist, you may omit it. Your dog can still realize good results from this system using the rest of the method. However, if perfect ears set tightly on the skull is your objective, the cross brace is an important step.
Make the Cross Brace – Creating the cross brace is the most precise part of this method. It may take some trial and error, but with practice will come confidence and proficiency.
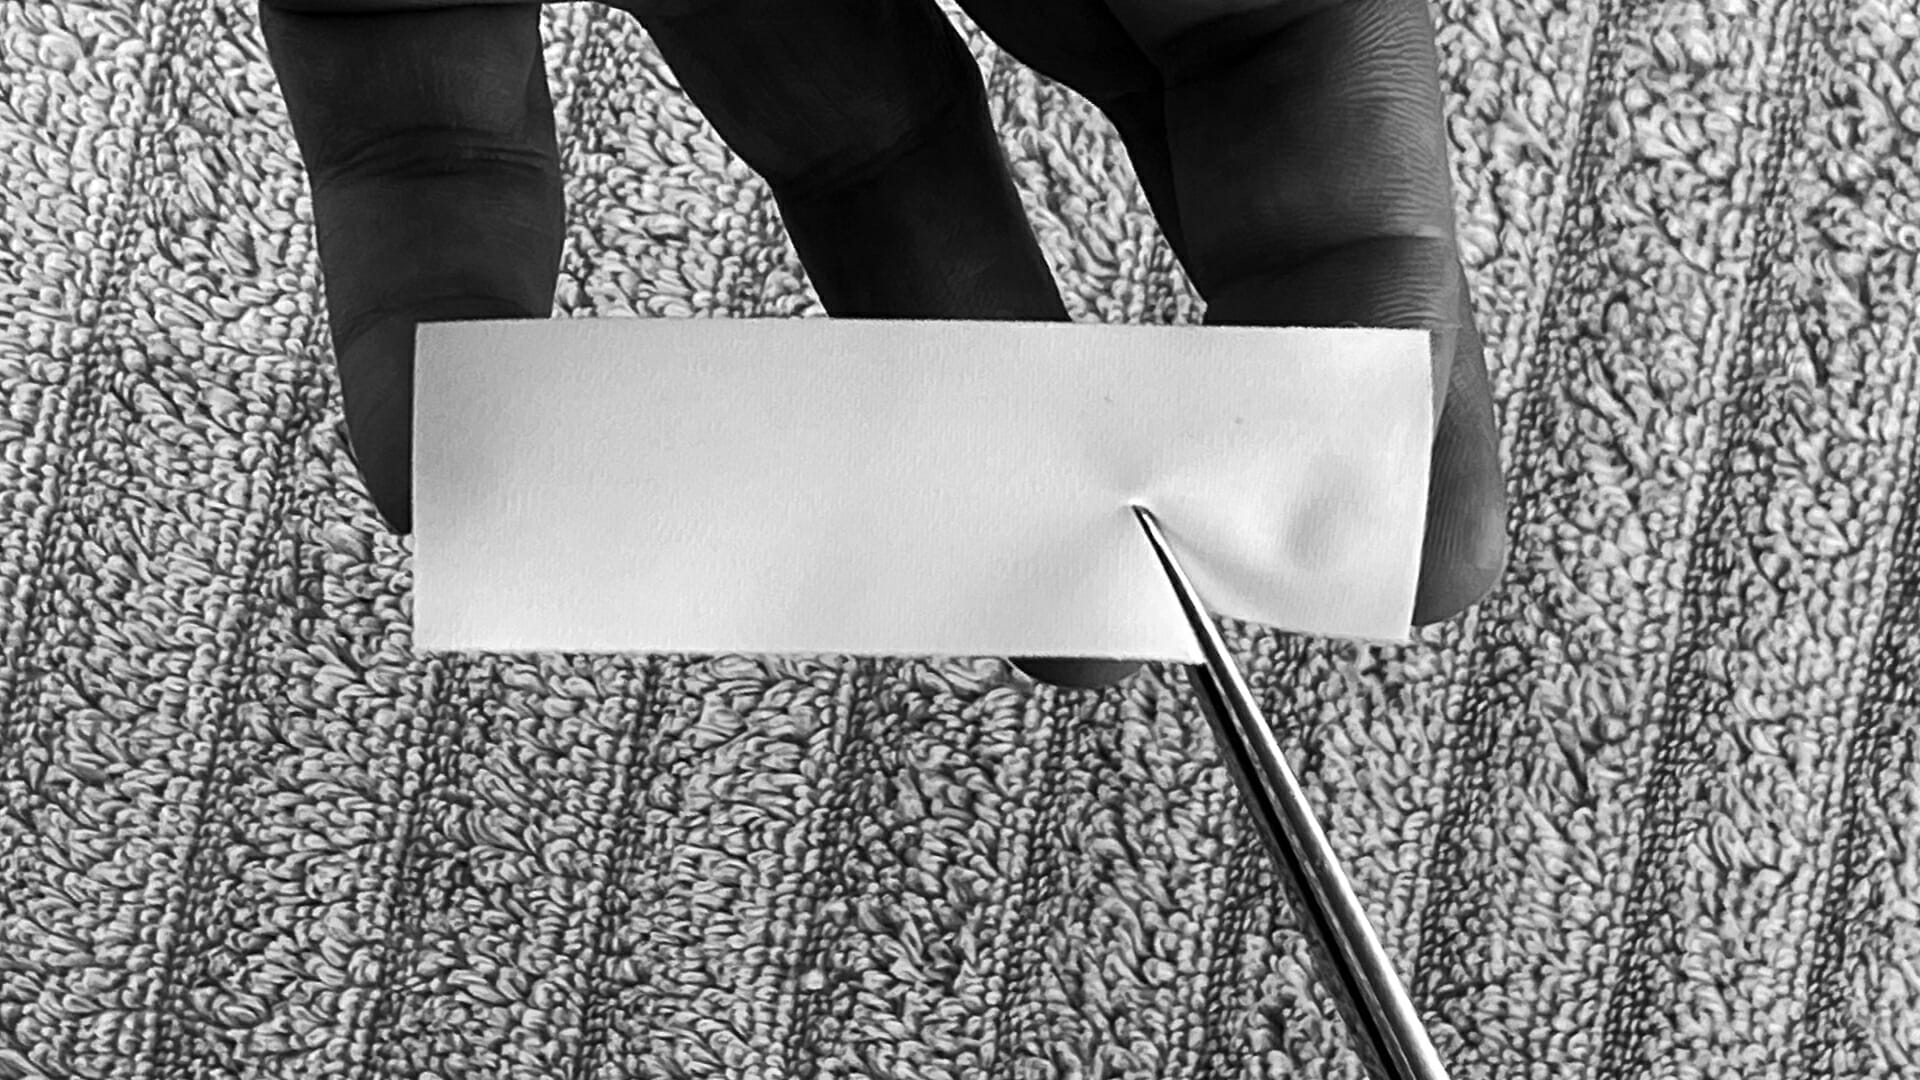
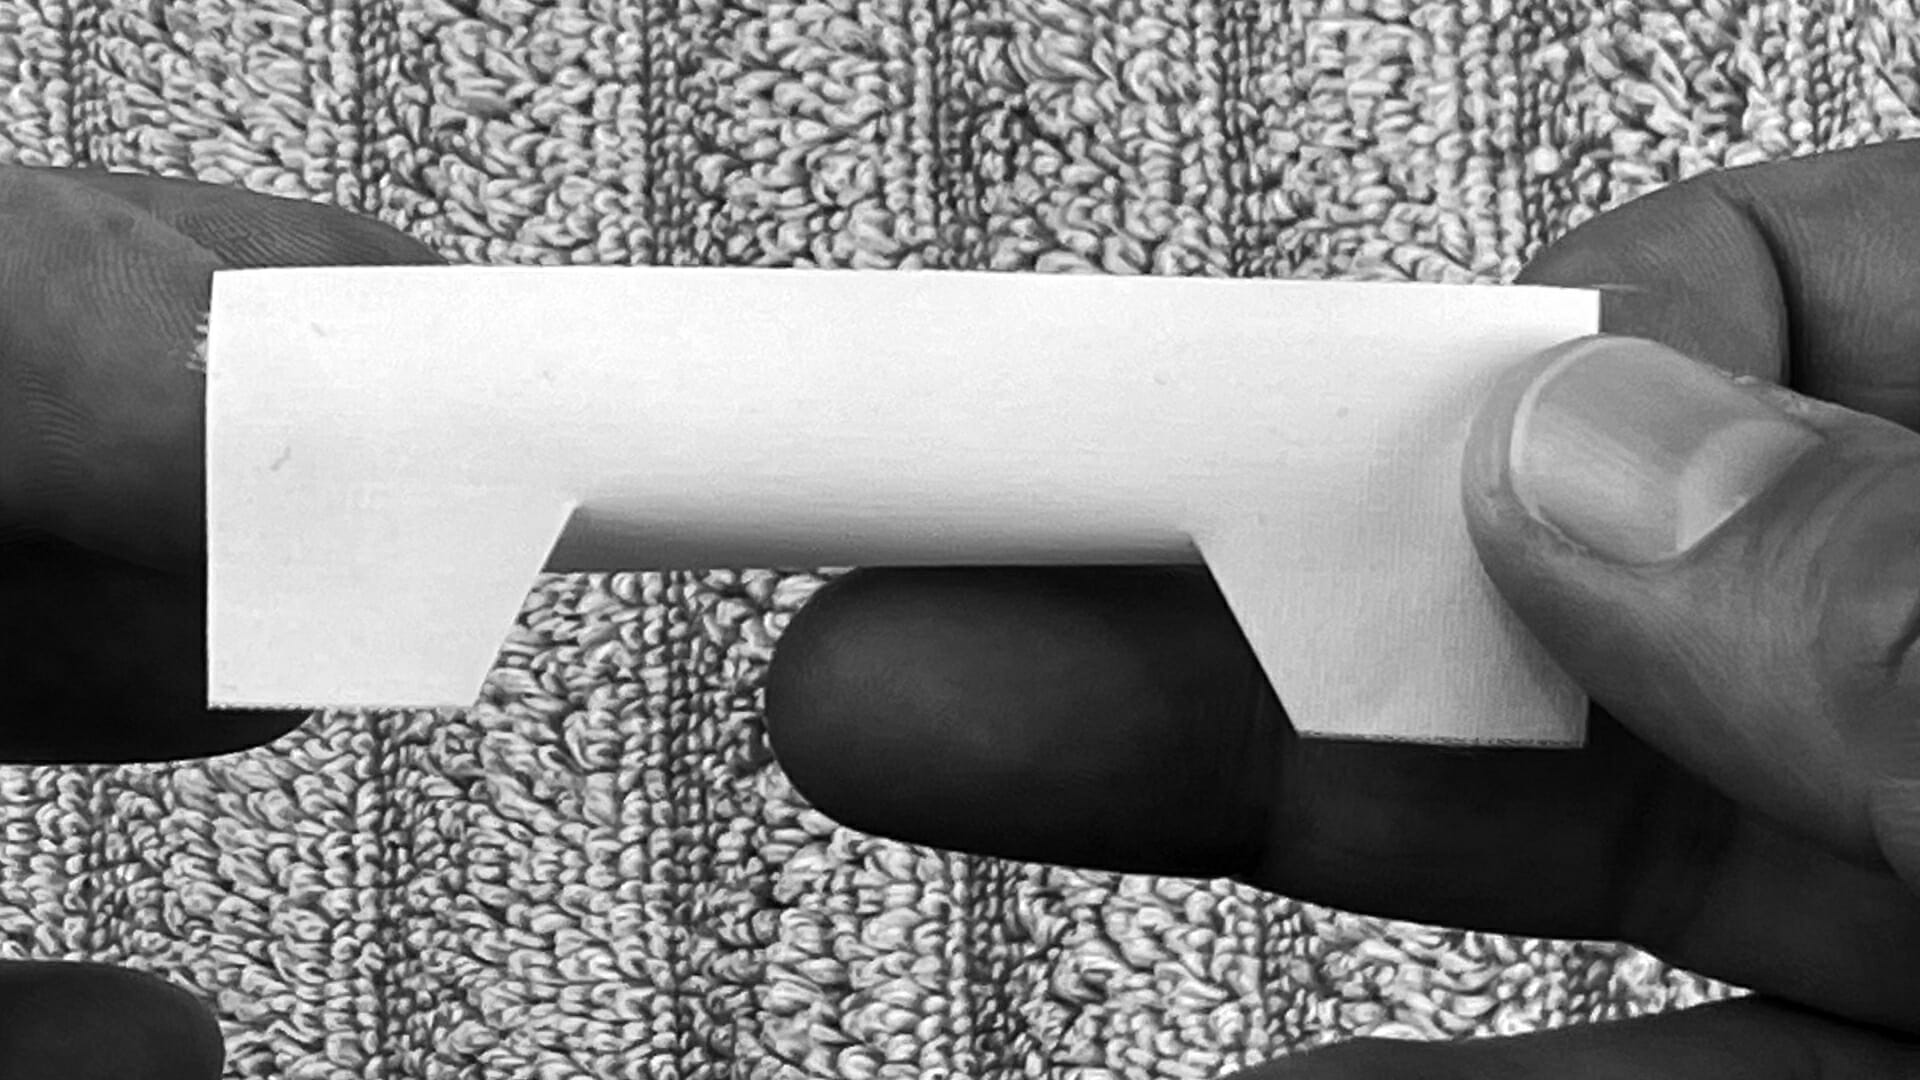
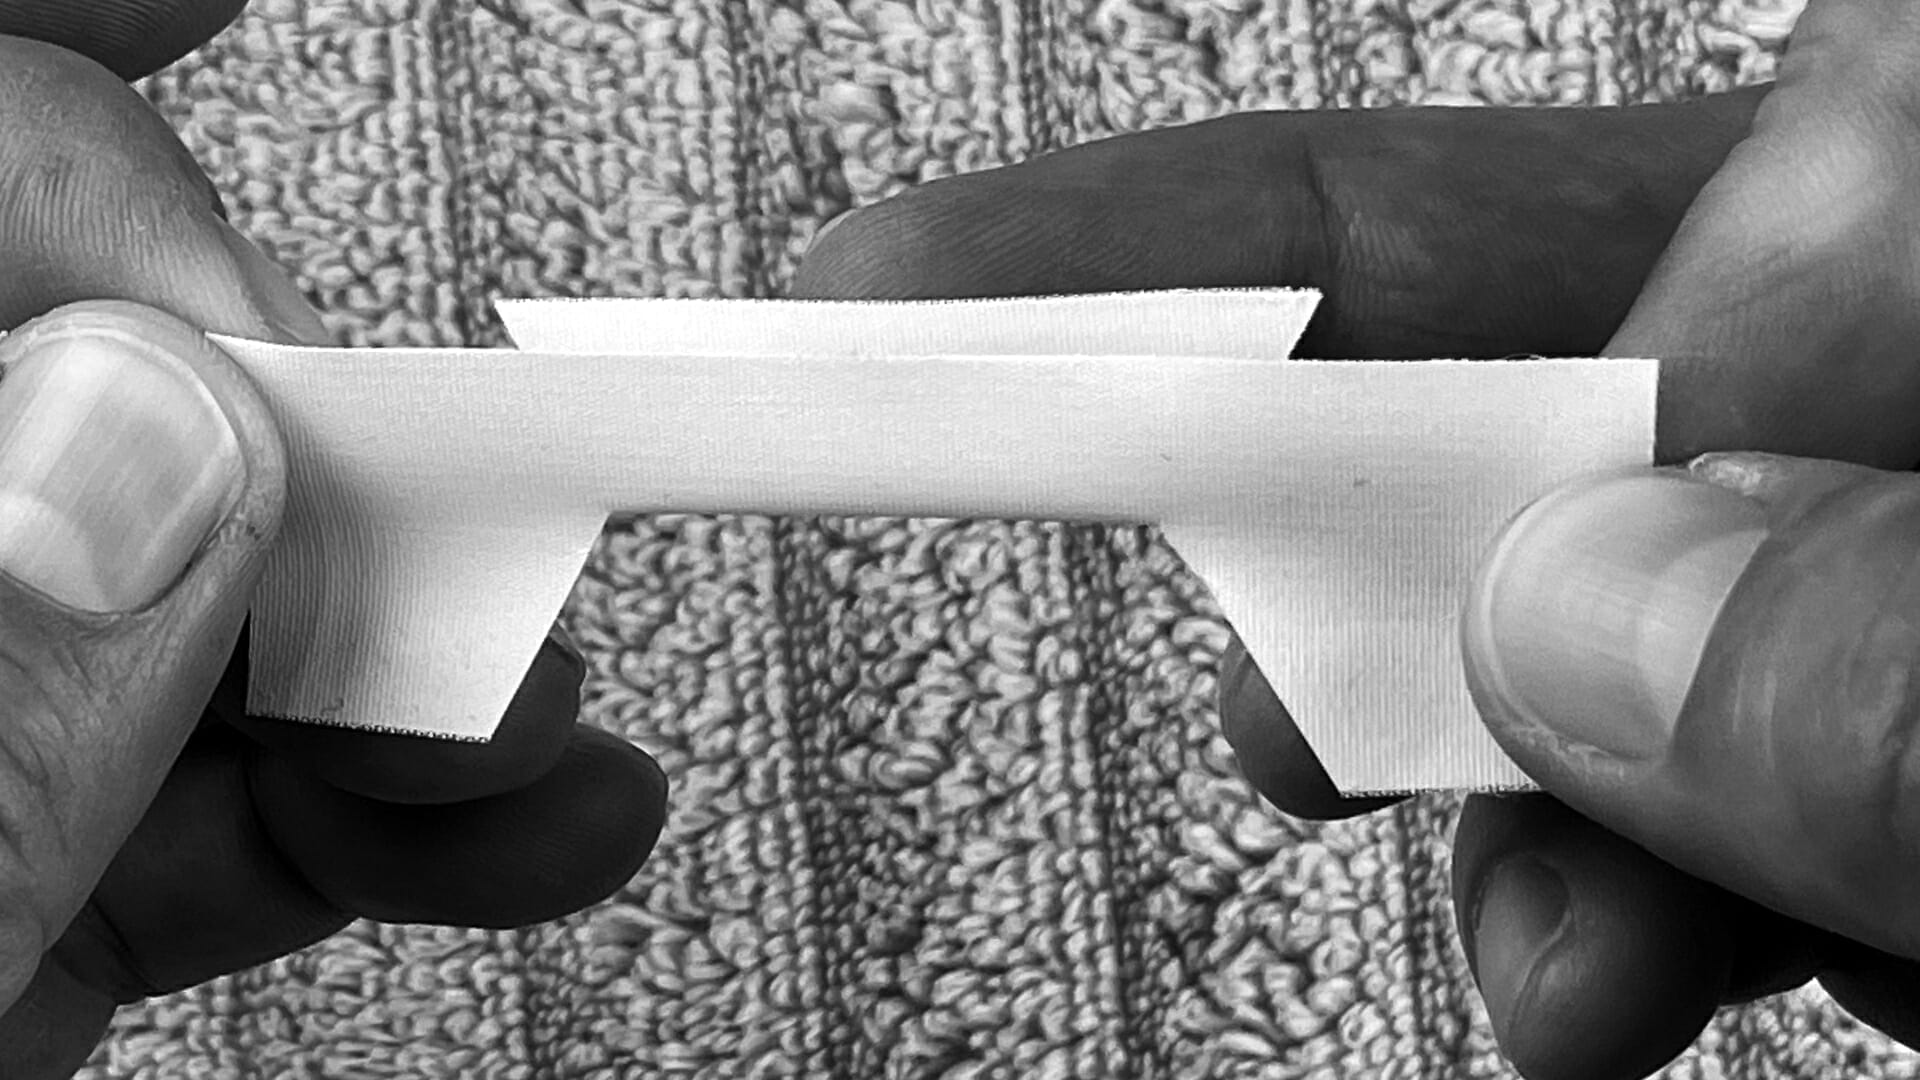
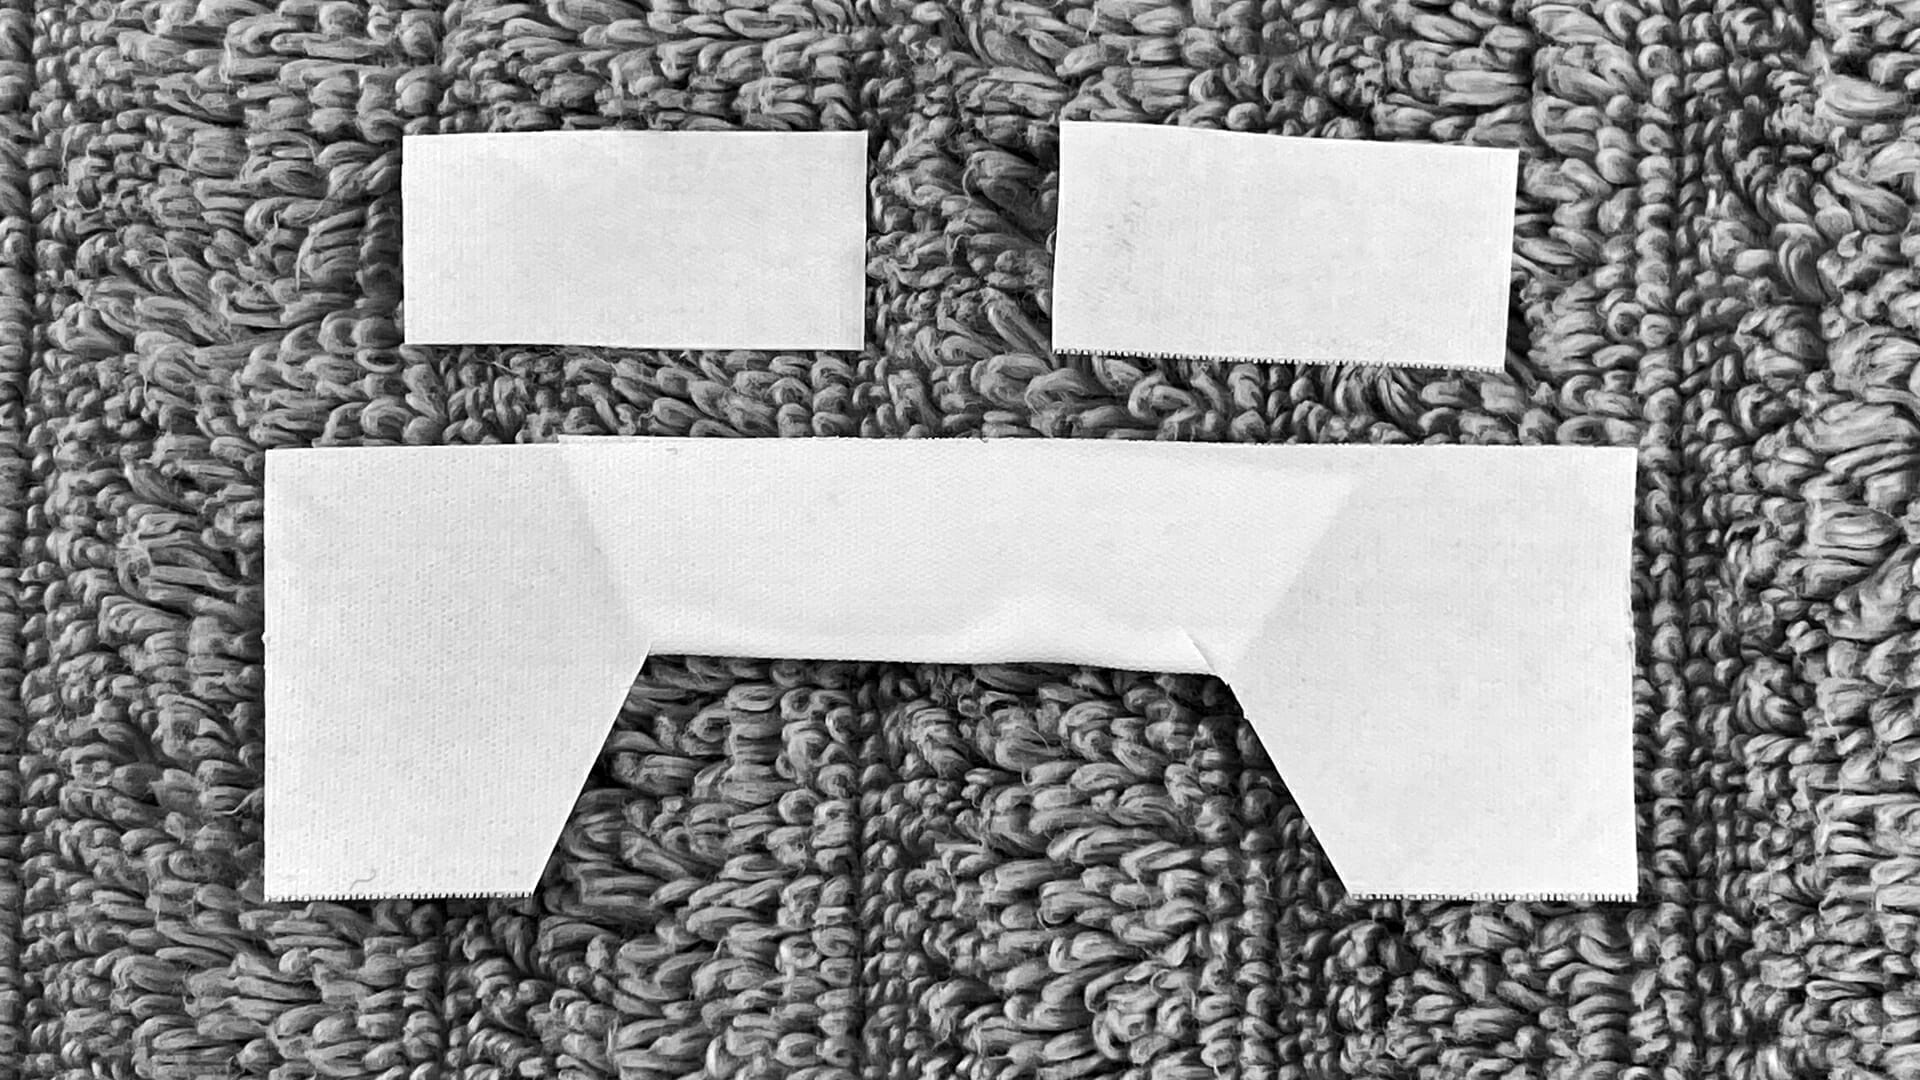
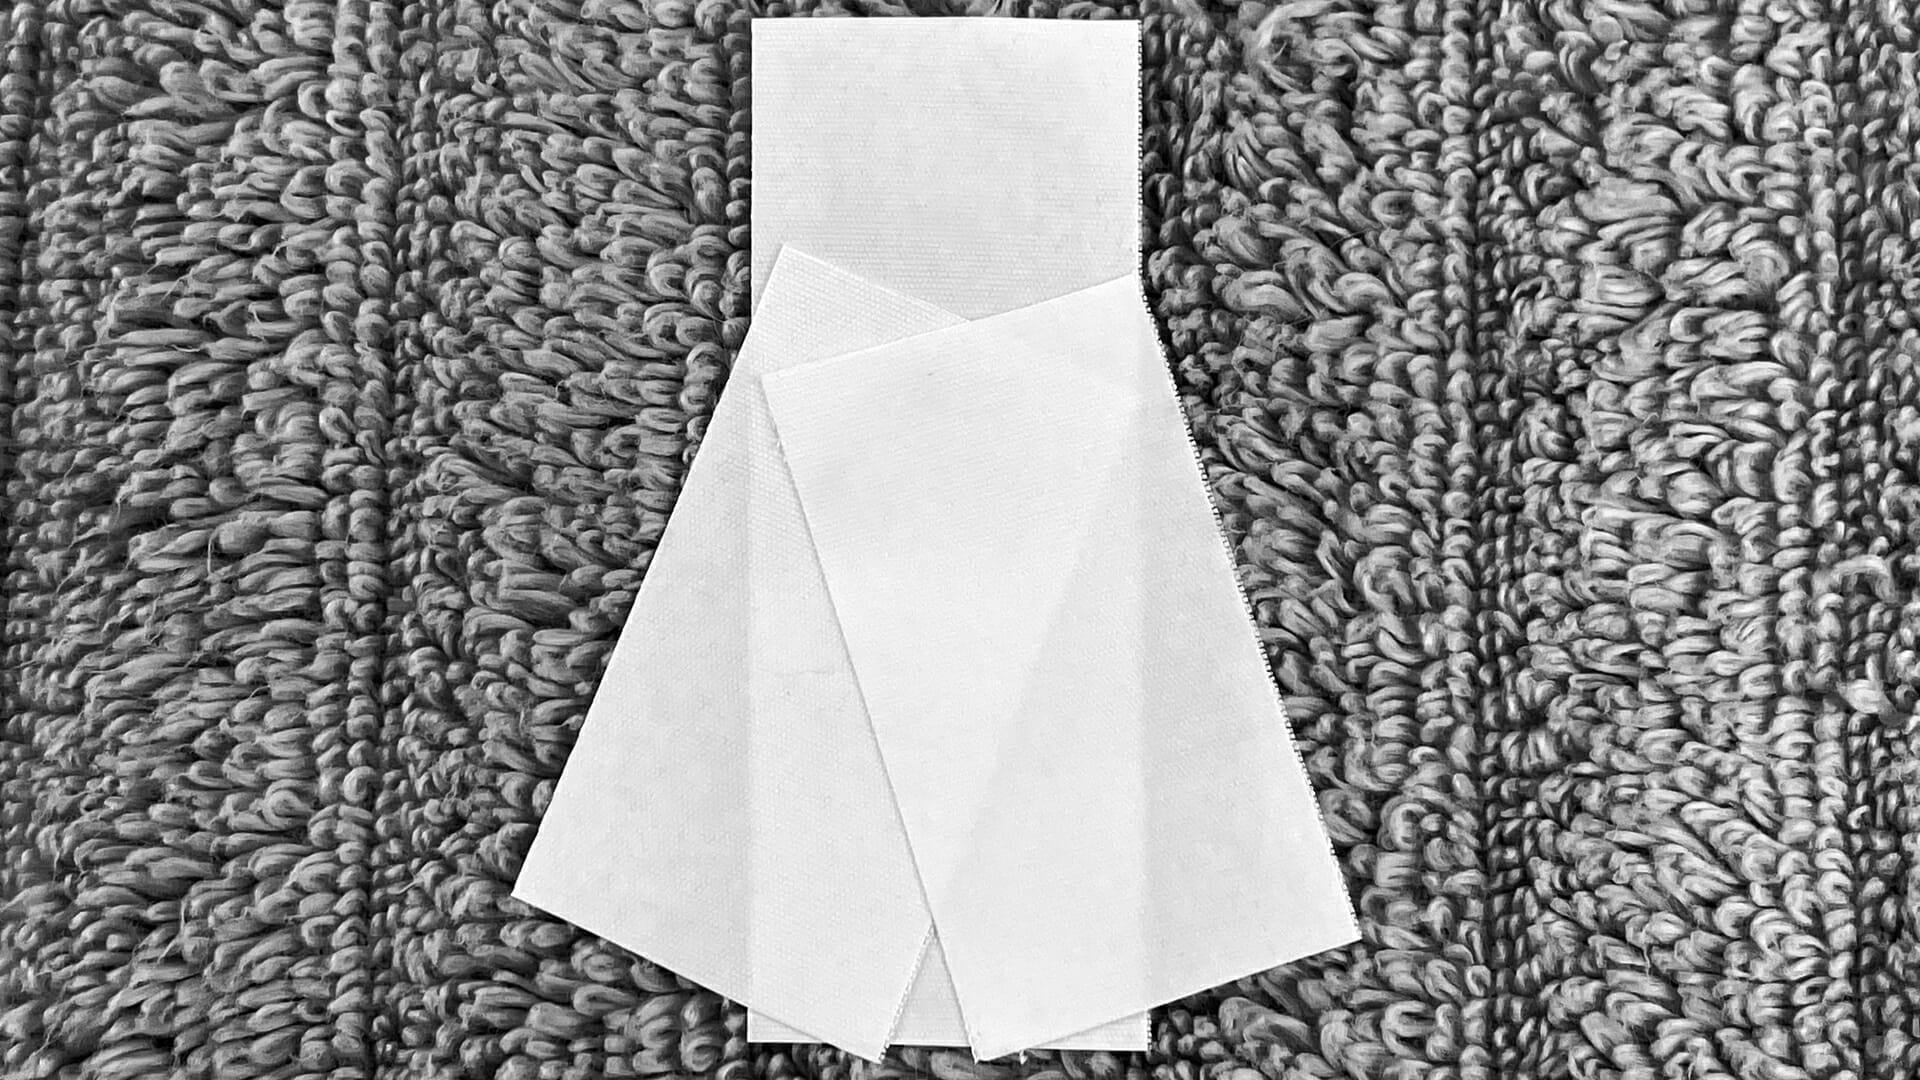
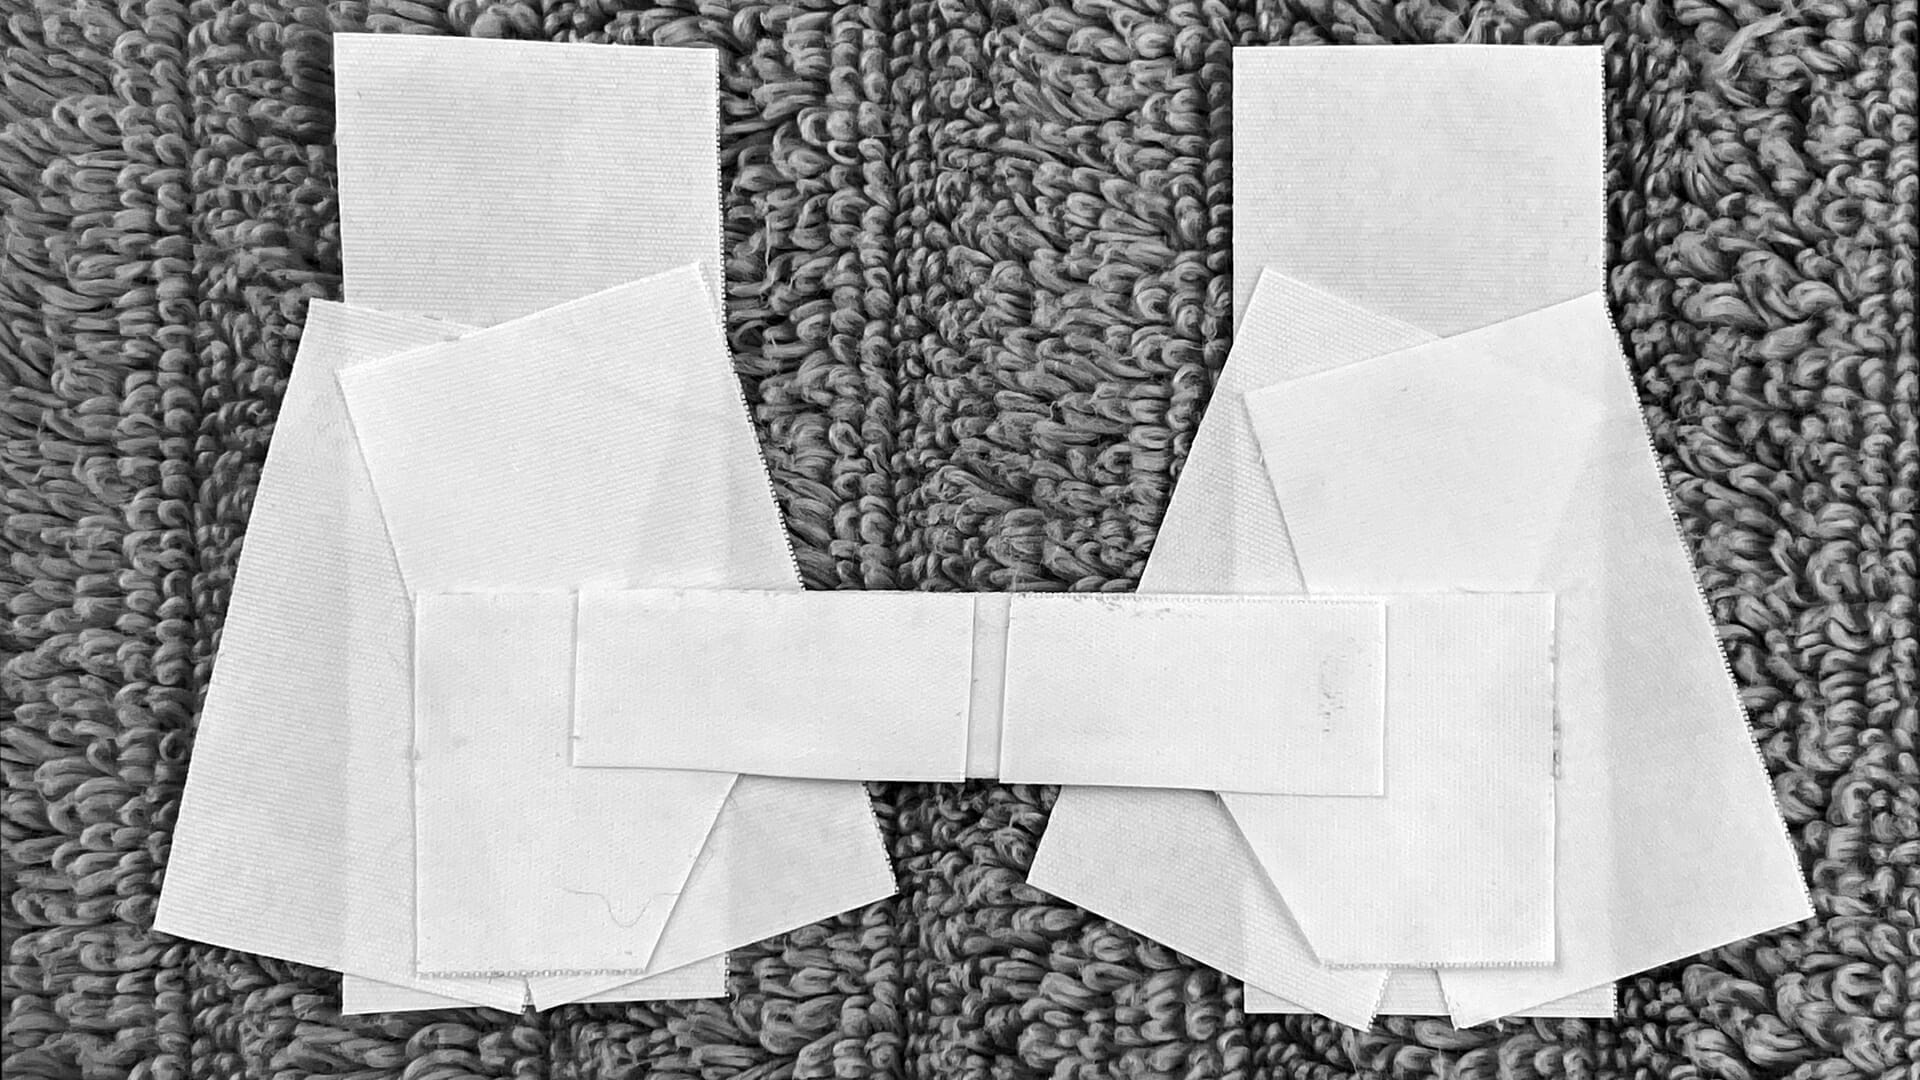
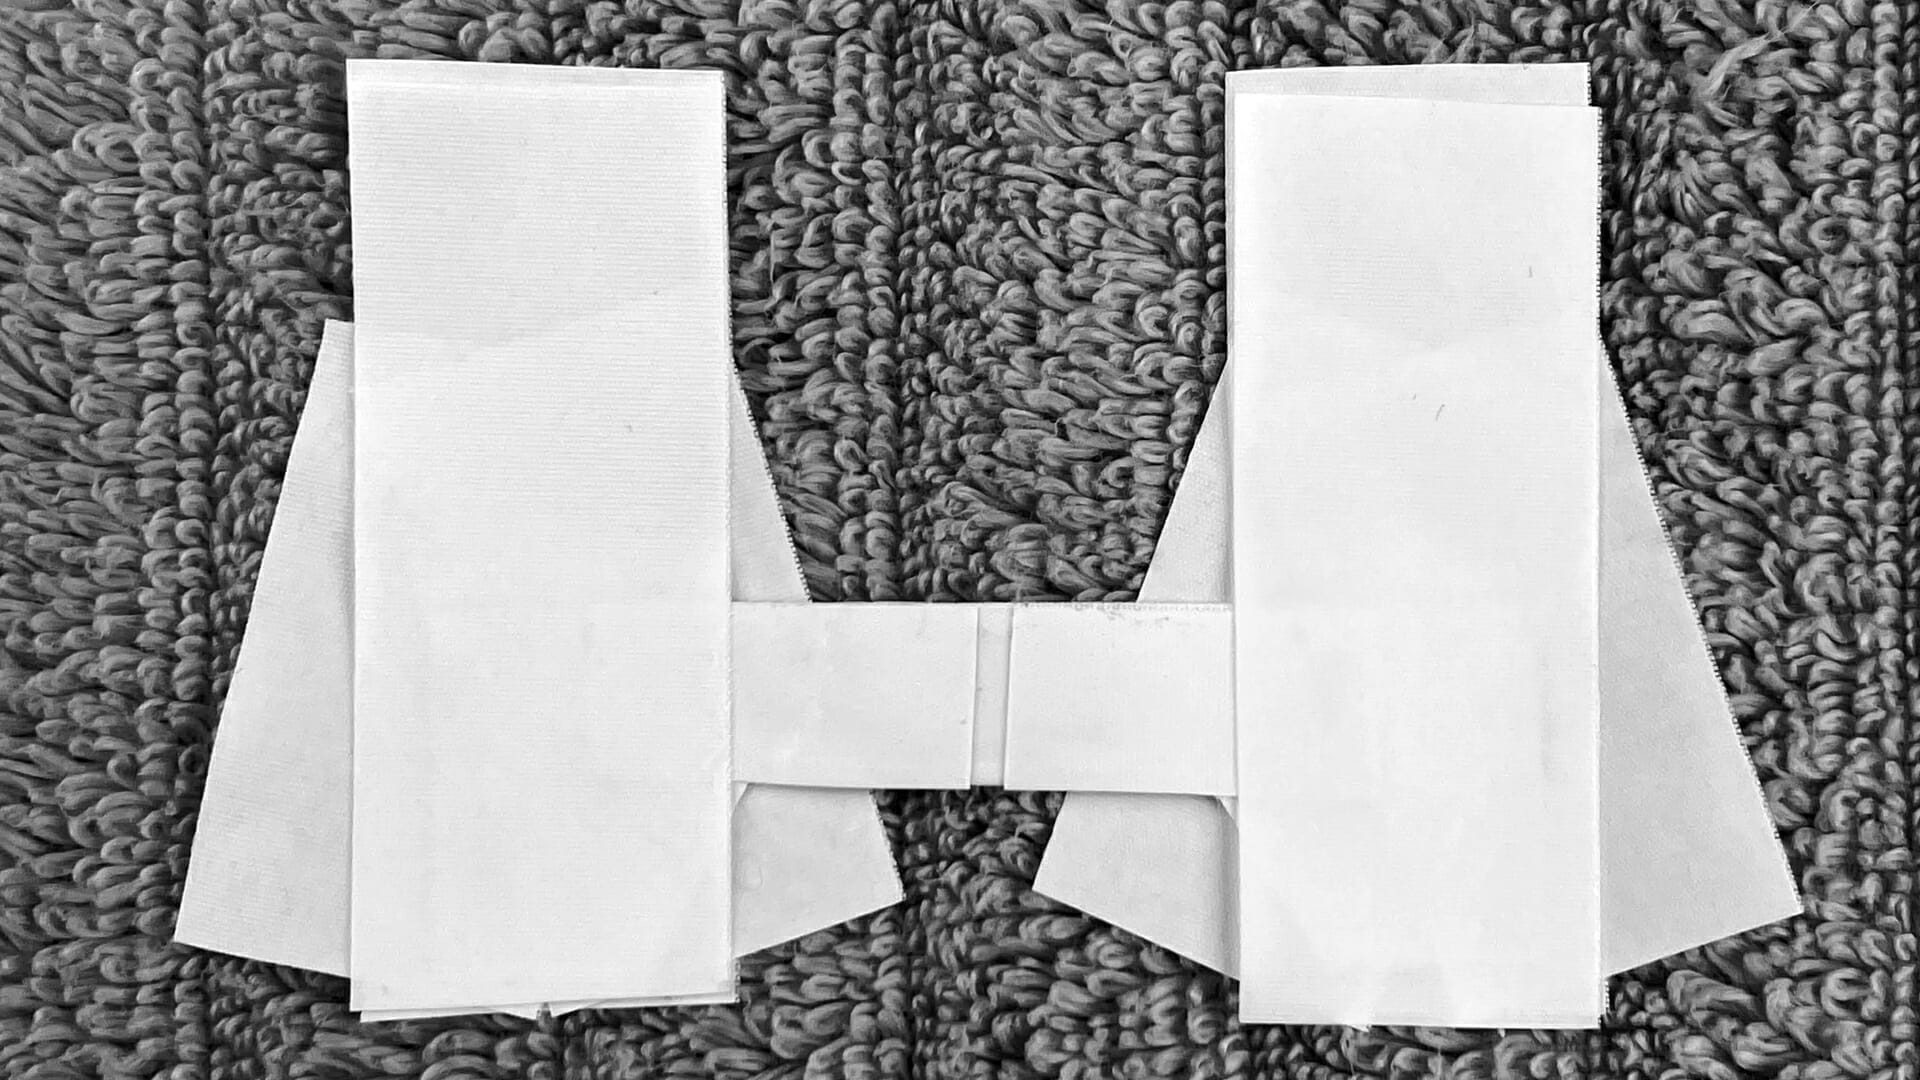
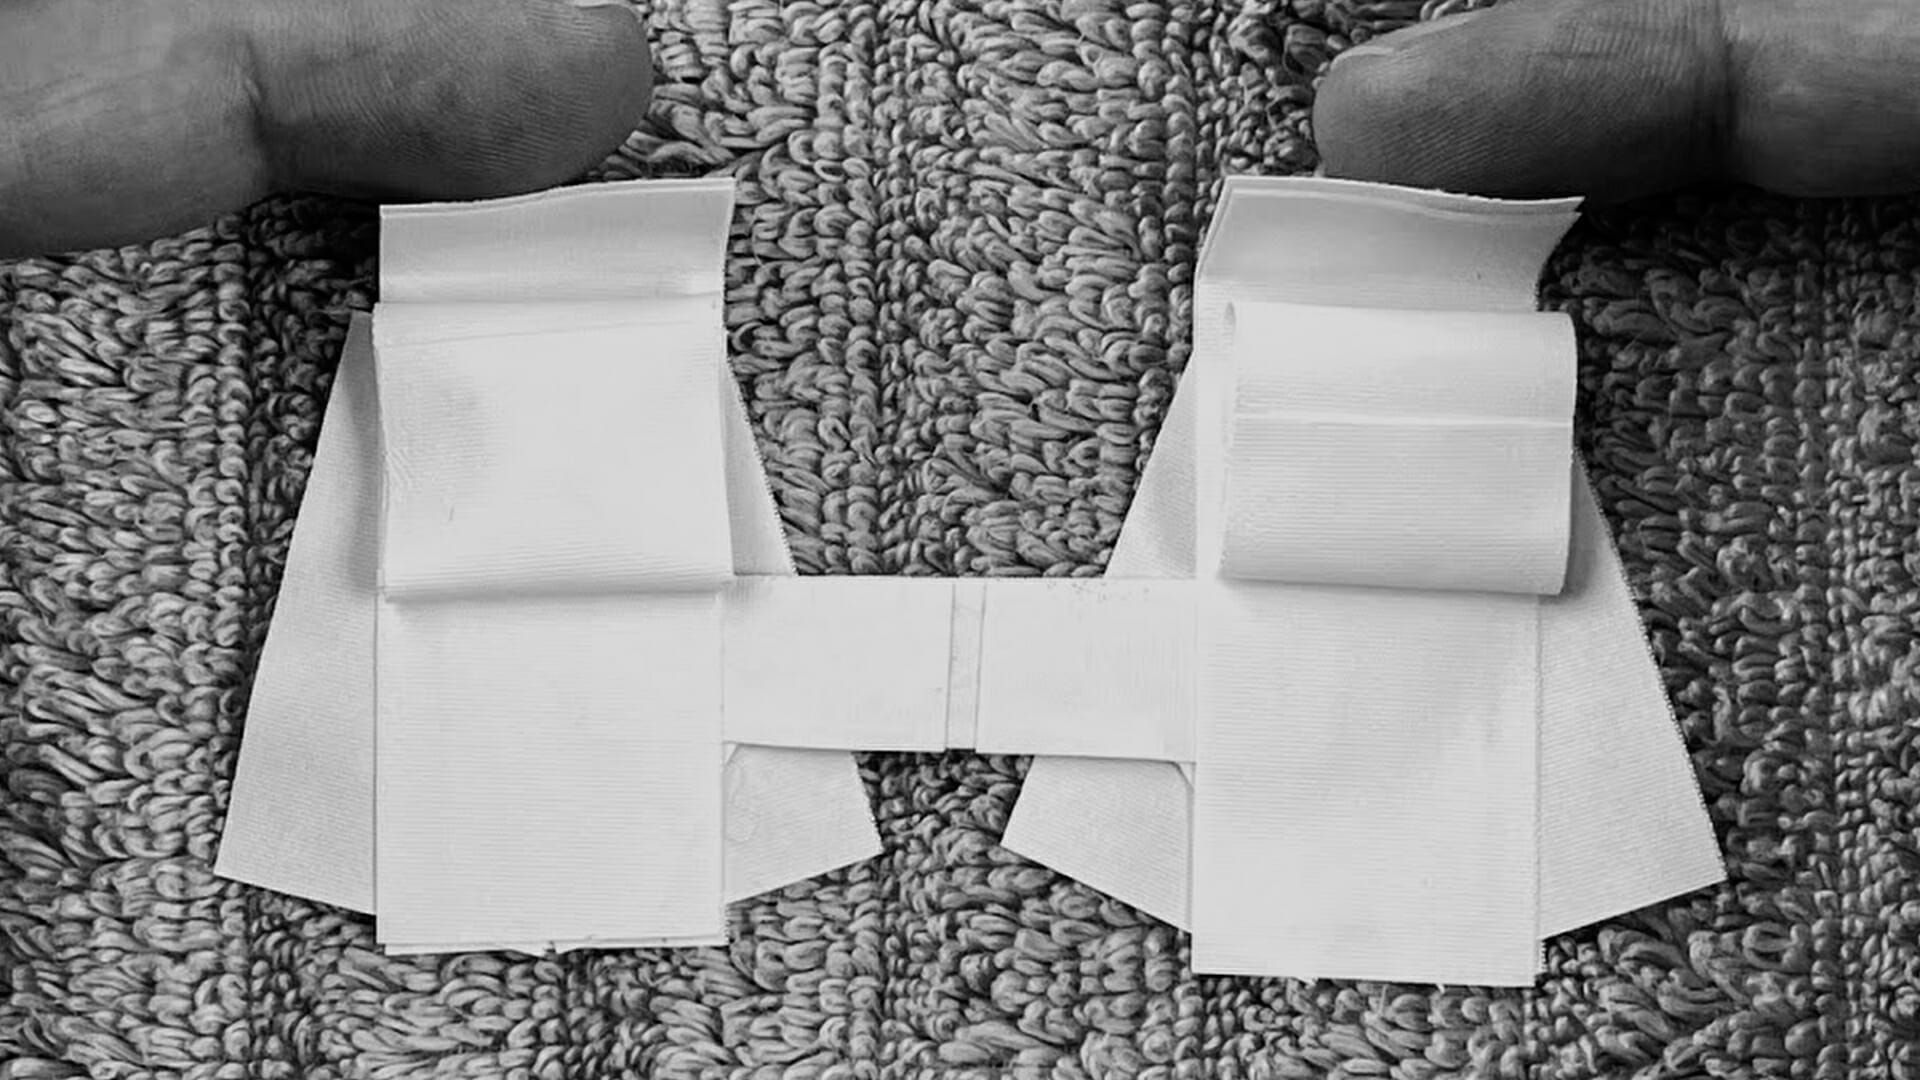
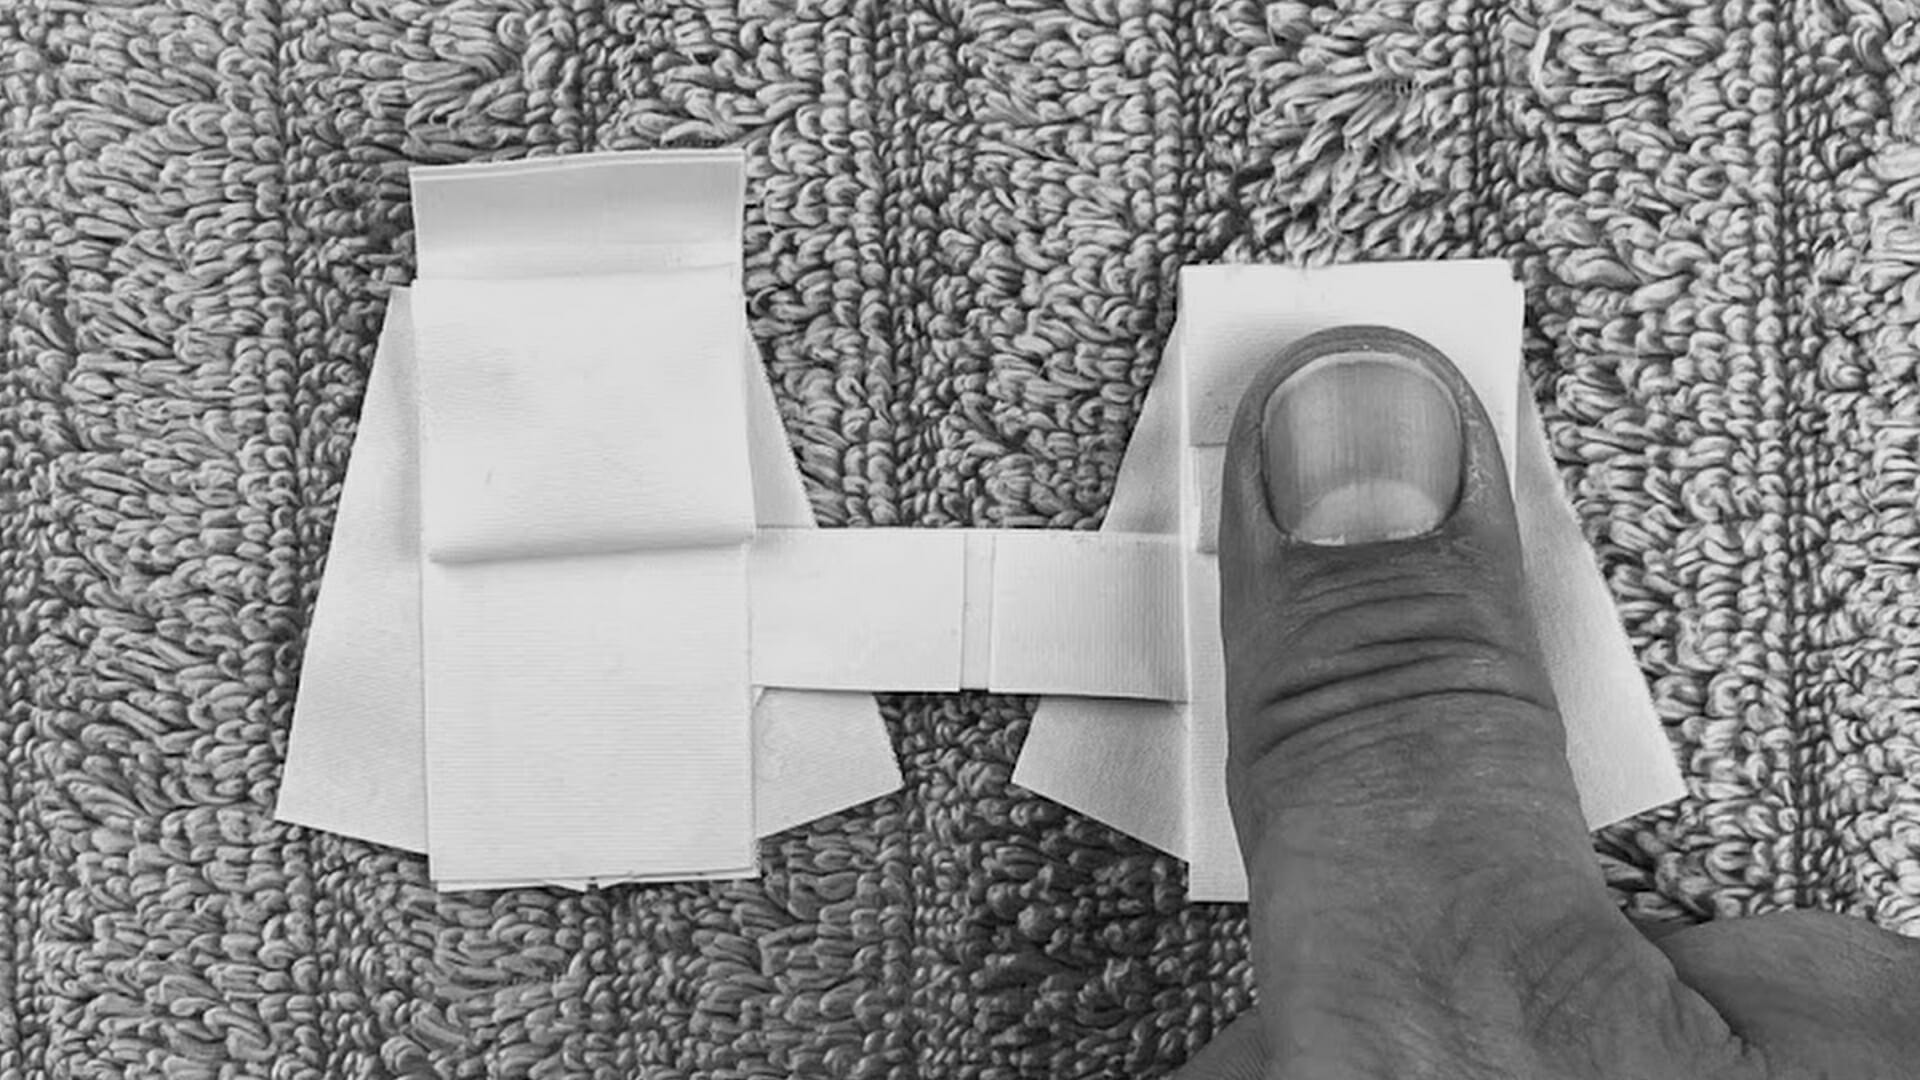
Pull the ears up in their natural on-alert position. Visually estimate the distance between each ear’s center, then cut the cross brace strip to a length slightly longer. Snip halfway through the cross brace at a 45-degree angle leaving tabs with square ends. Fold the cut half back on itself to keep the centerpiece from sticking to the backskull hair between the ears. Take a short piece of tape, cut down the center lengthwise, then apply on both sides of the cross-brace above the 45-degree cut lines. Without the reinforcement, the cross brace will tear at the cut lines.
Step-by-Step Photos: Making the Cross Brace


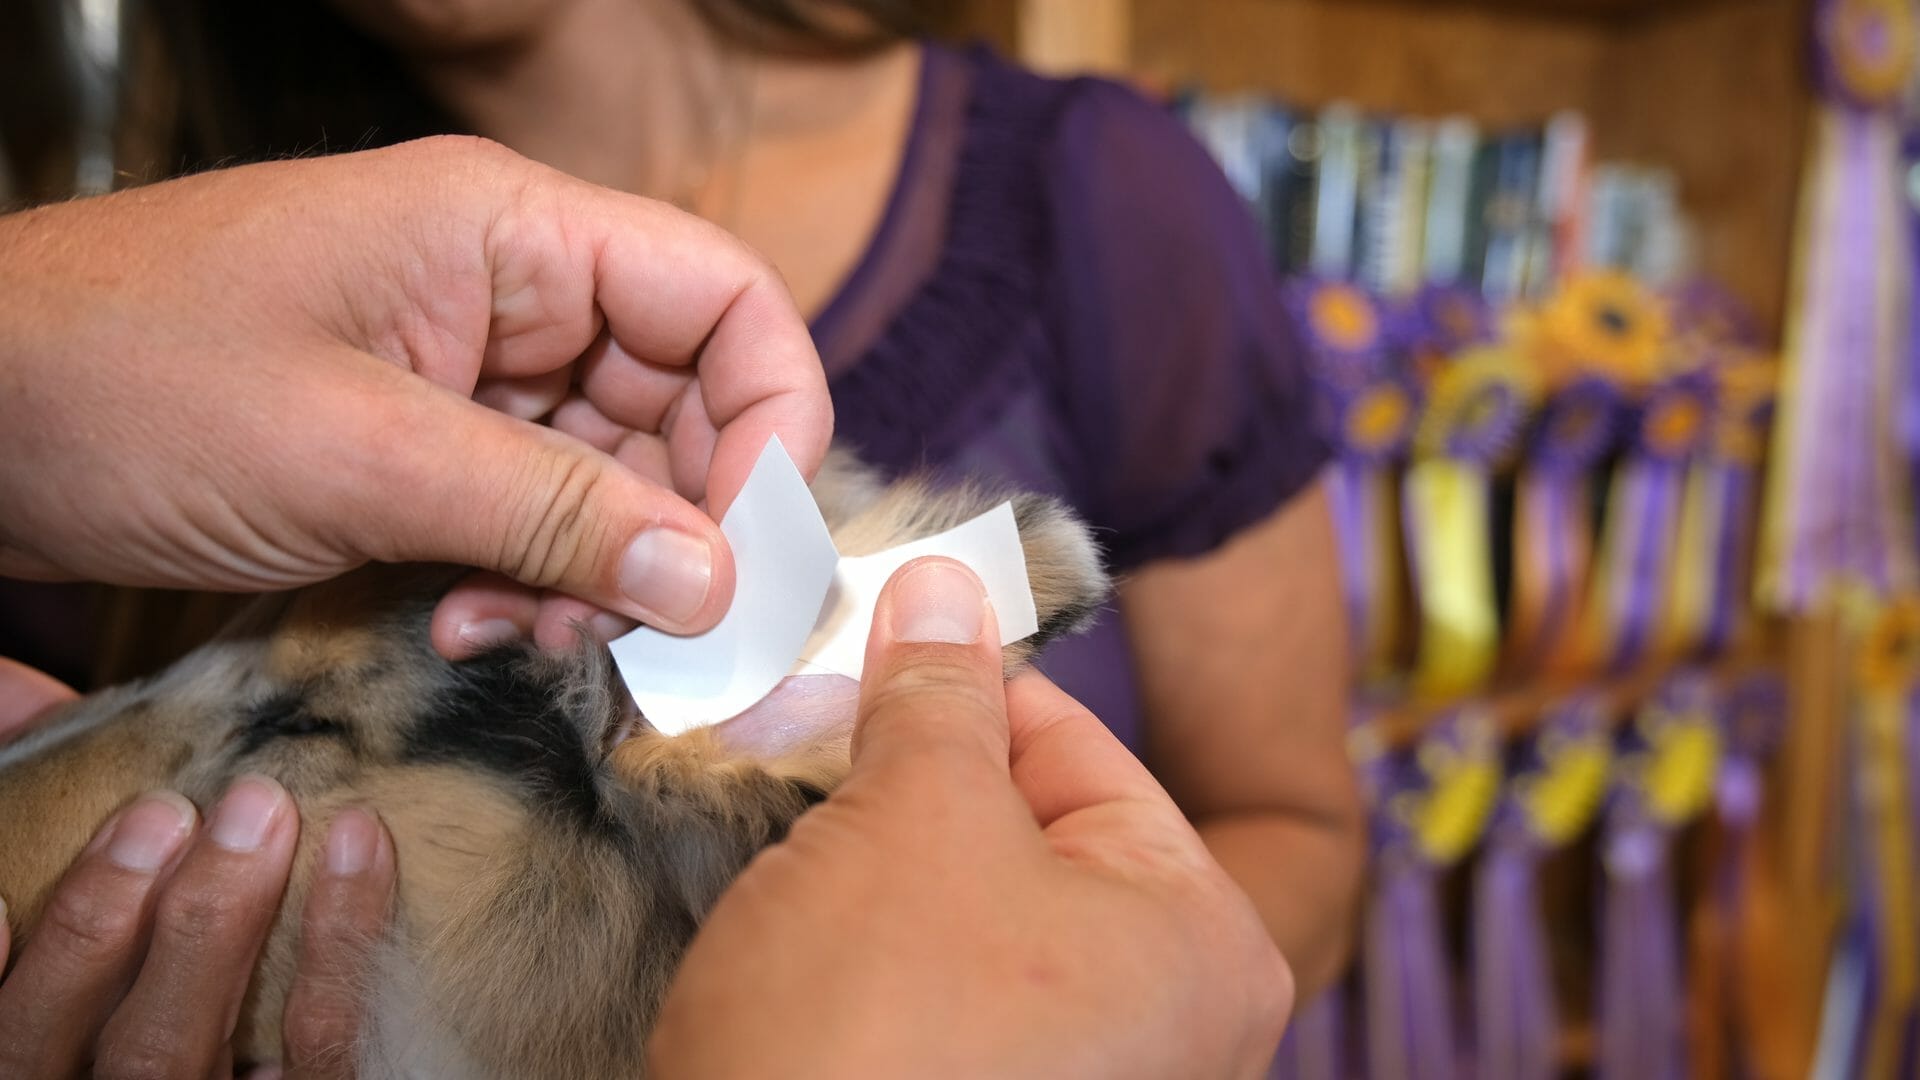
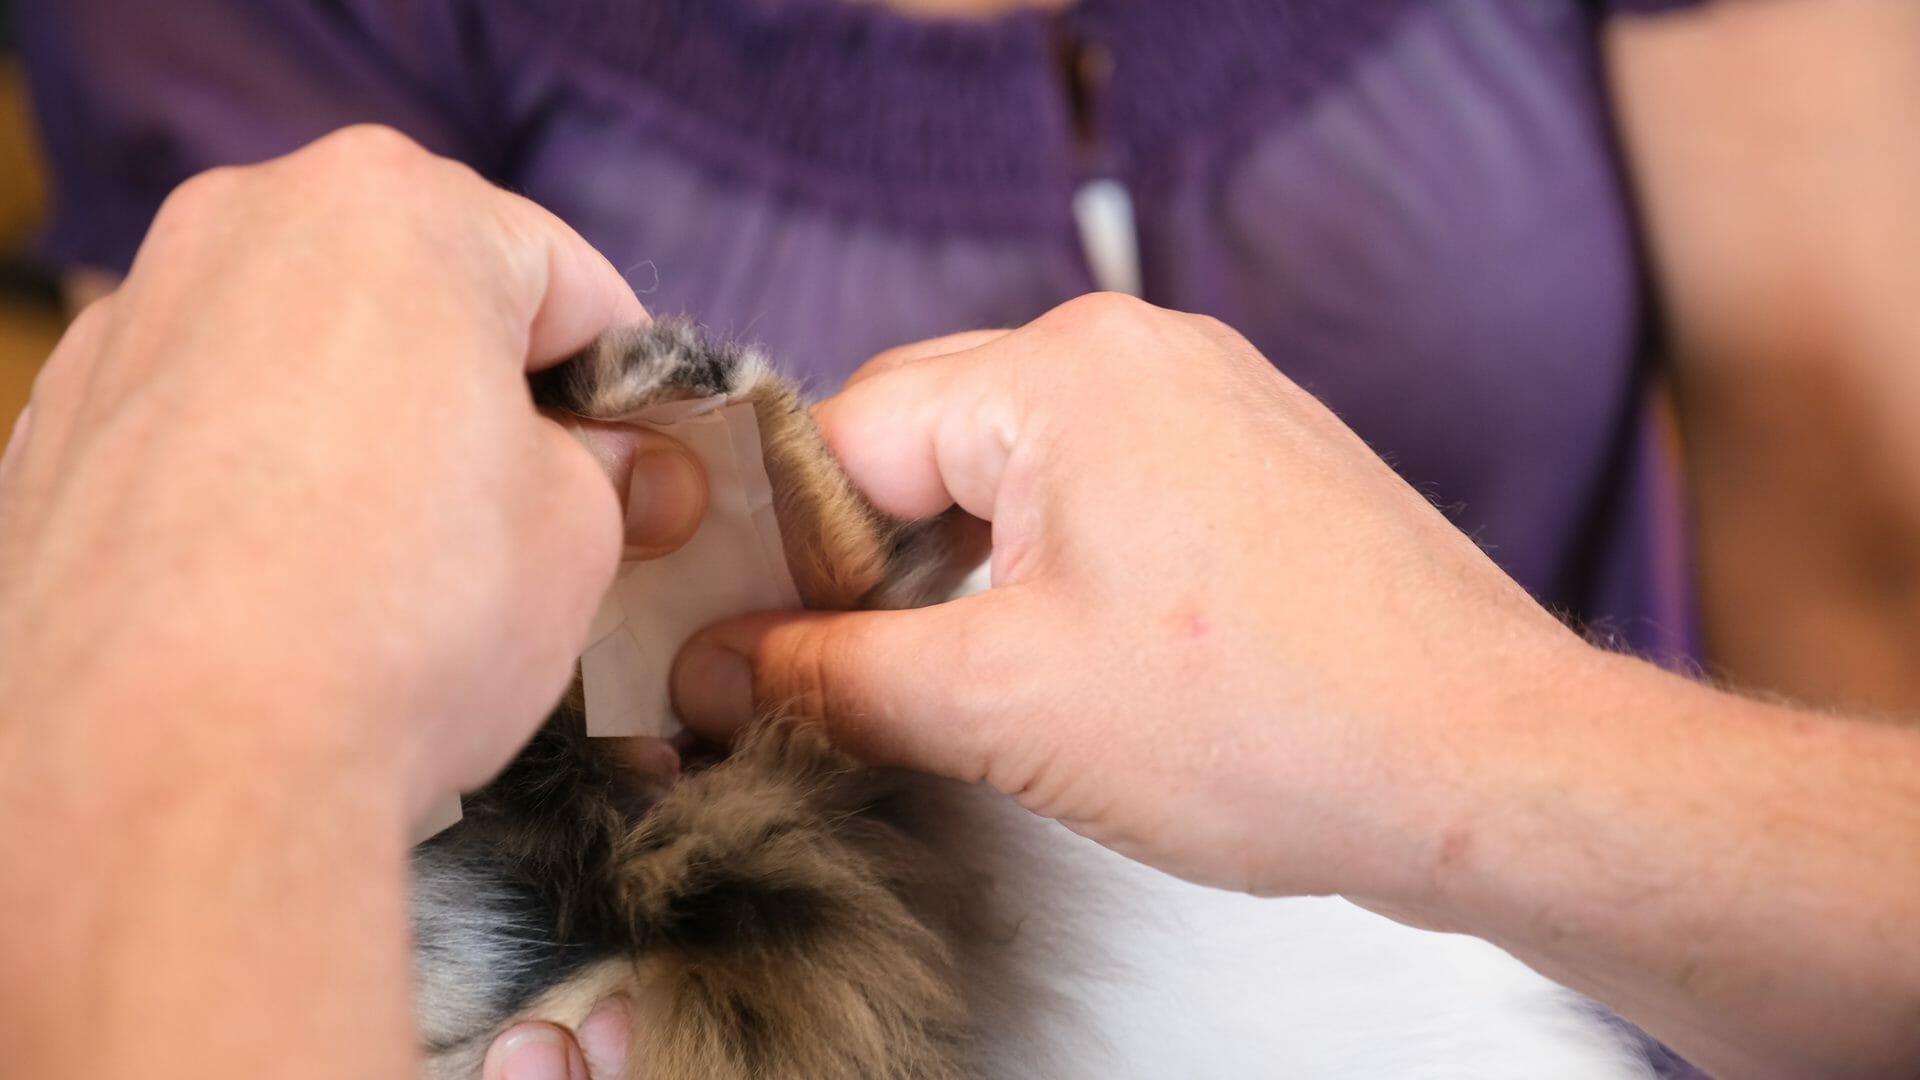
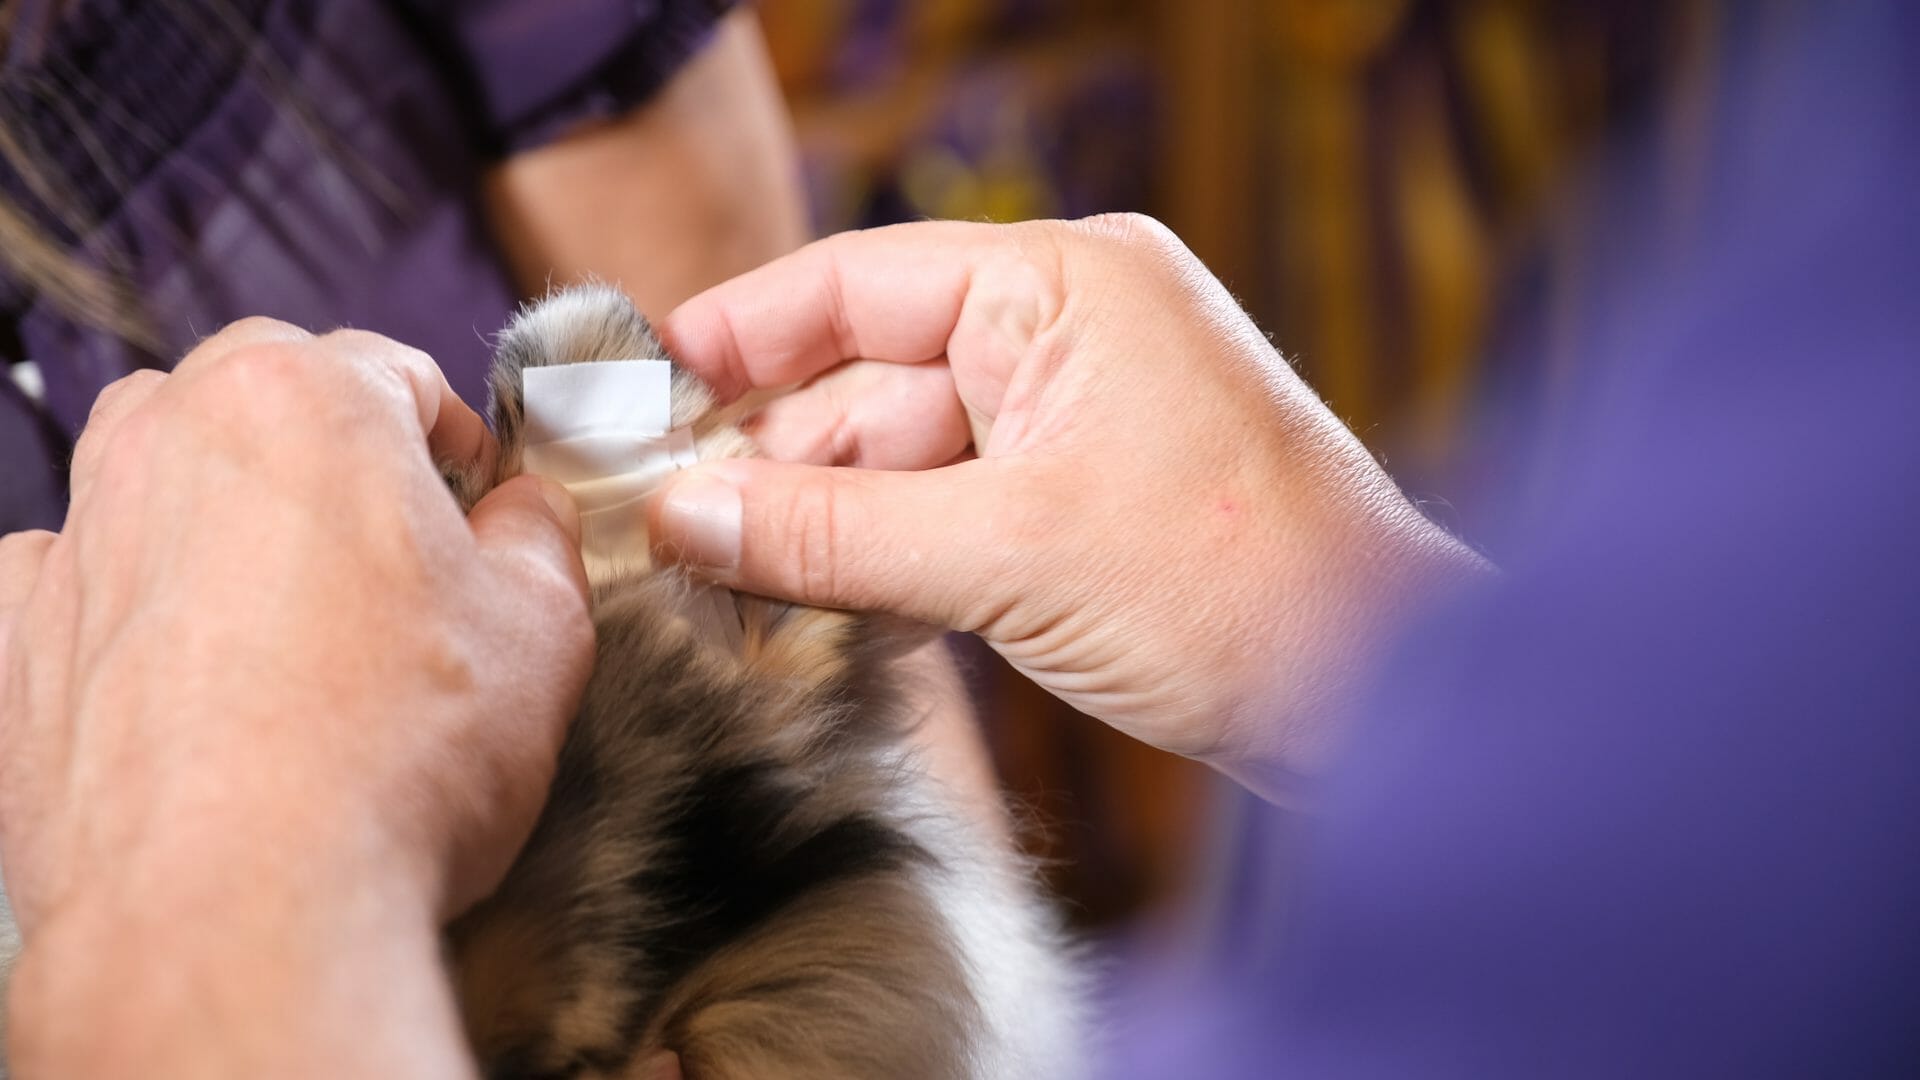
Apply Cross Brace – It is essential to apply the cross brace properly and an extra set of hands will aid in correct placement. Place one tab down low in the middle of the ear, centered on the main strip. Next, place a small piece of tape on top of the tab to “sandwich” the cross brace in the ear. Press the tapes together to help set the adhesive and hold the cross brace in place.
PRO TIP: Contrary to what several ear taping resources instruct, the cross brace should pull from the center base of the ear, not the outside edge. Doing so will make the ears “fold in” and result in an incorrect ear set and shape.
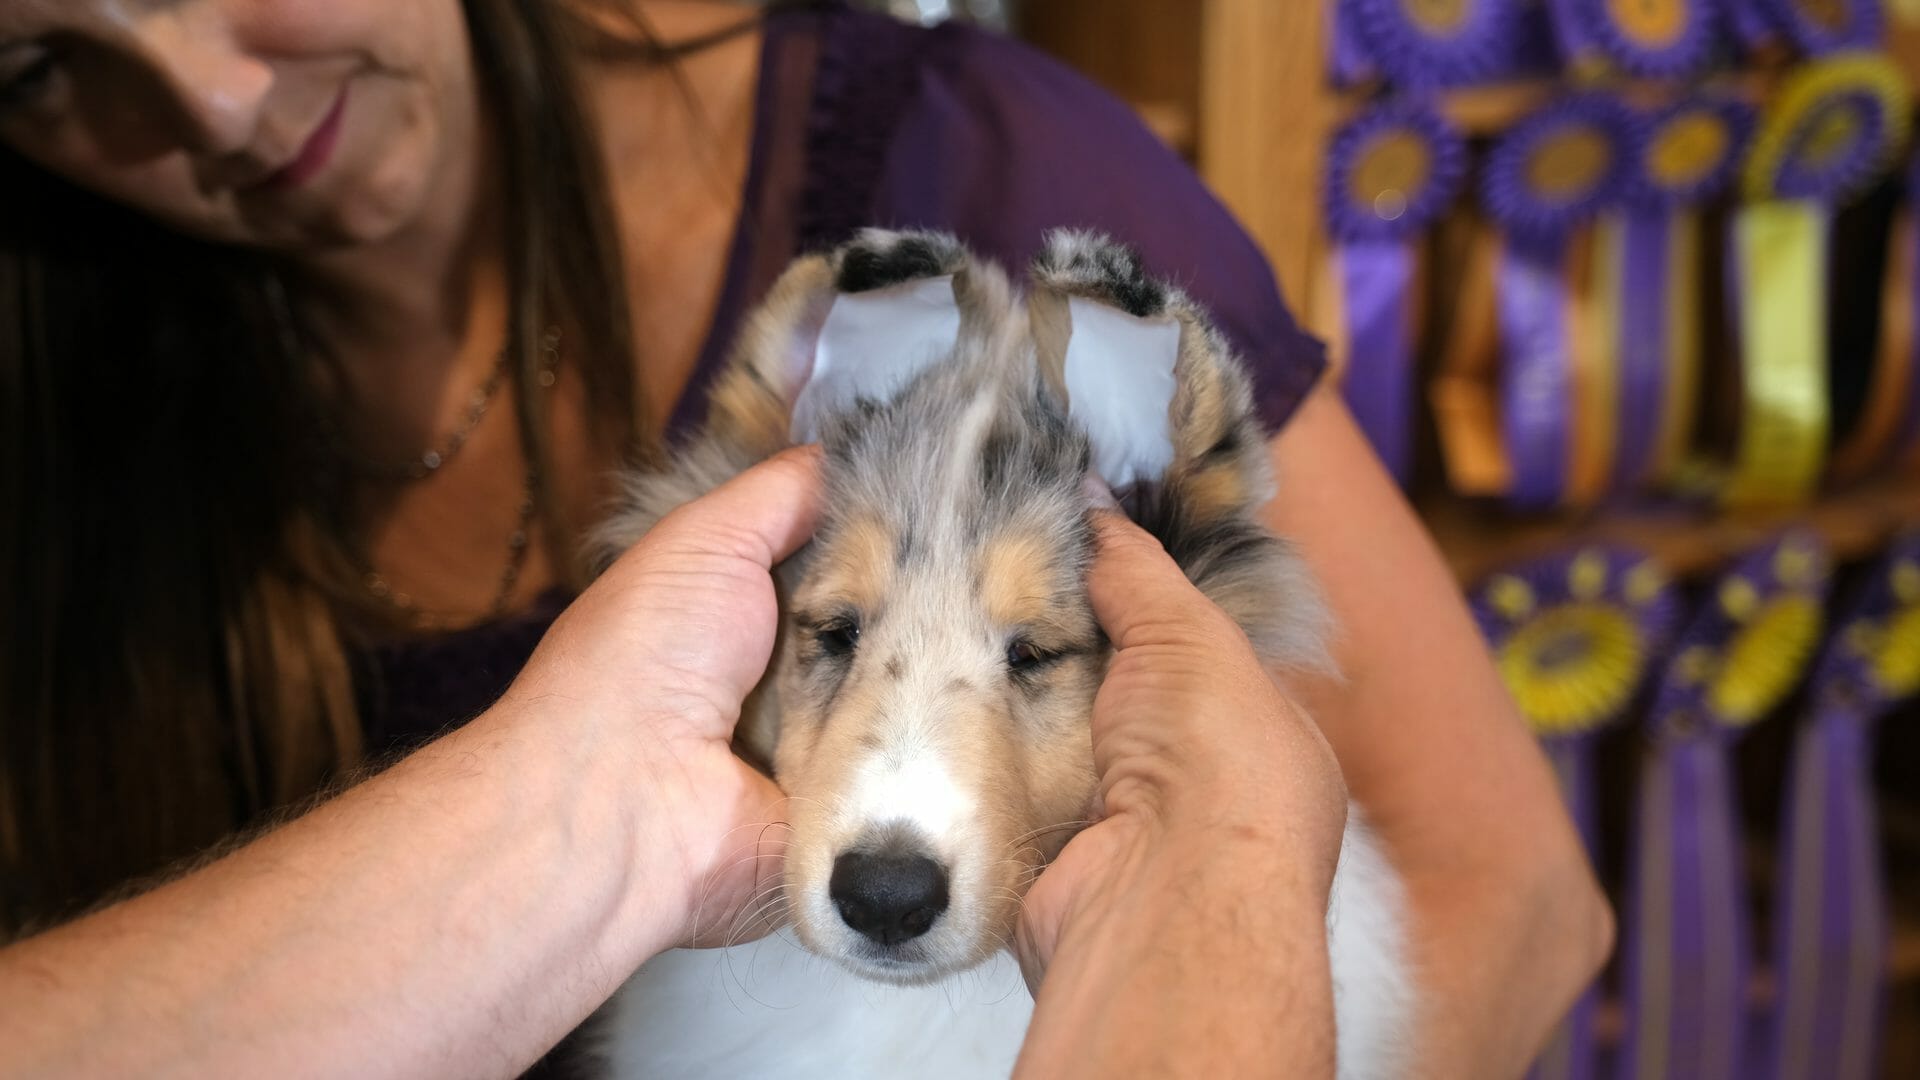
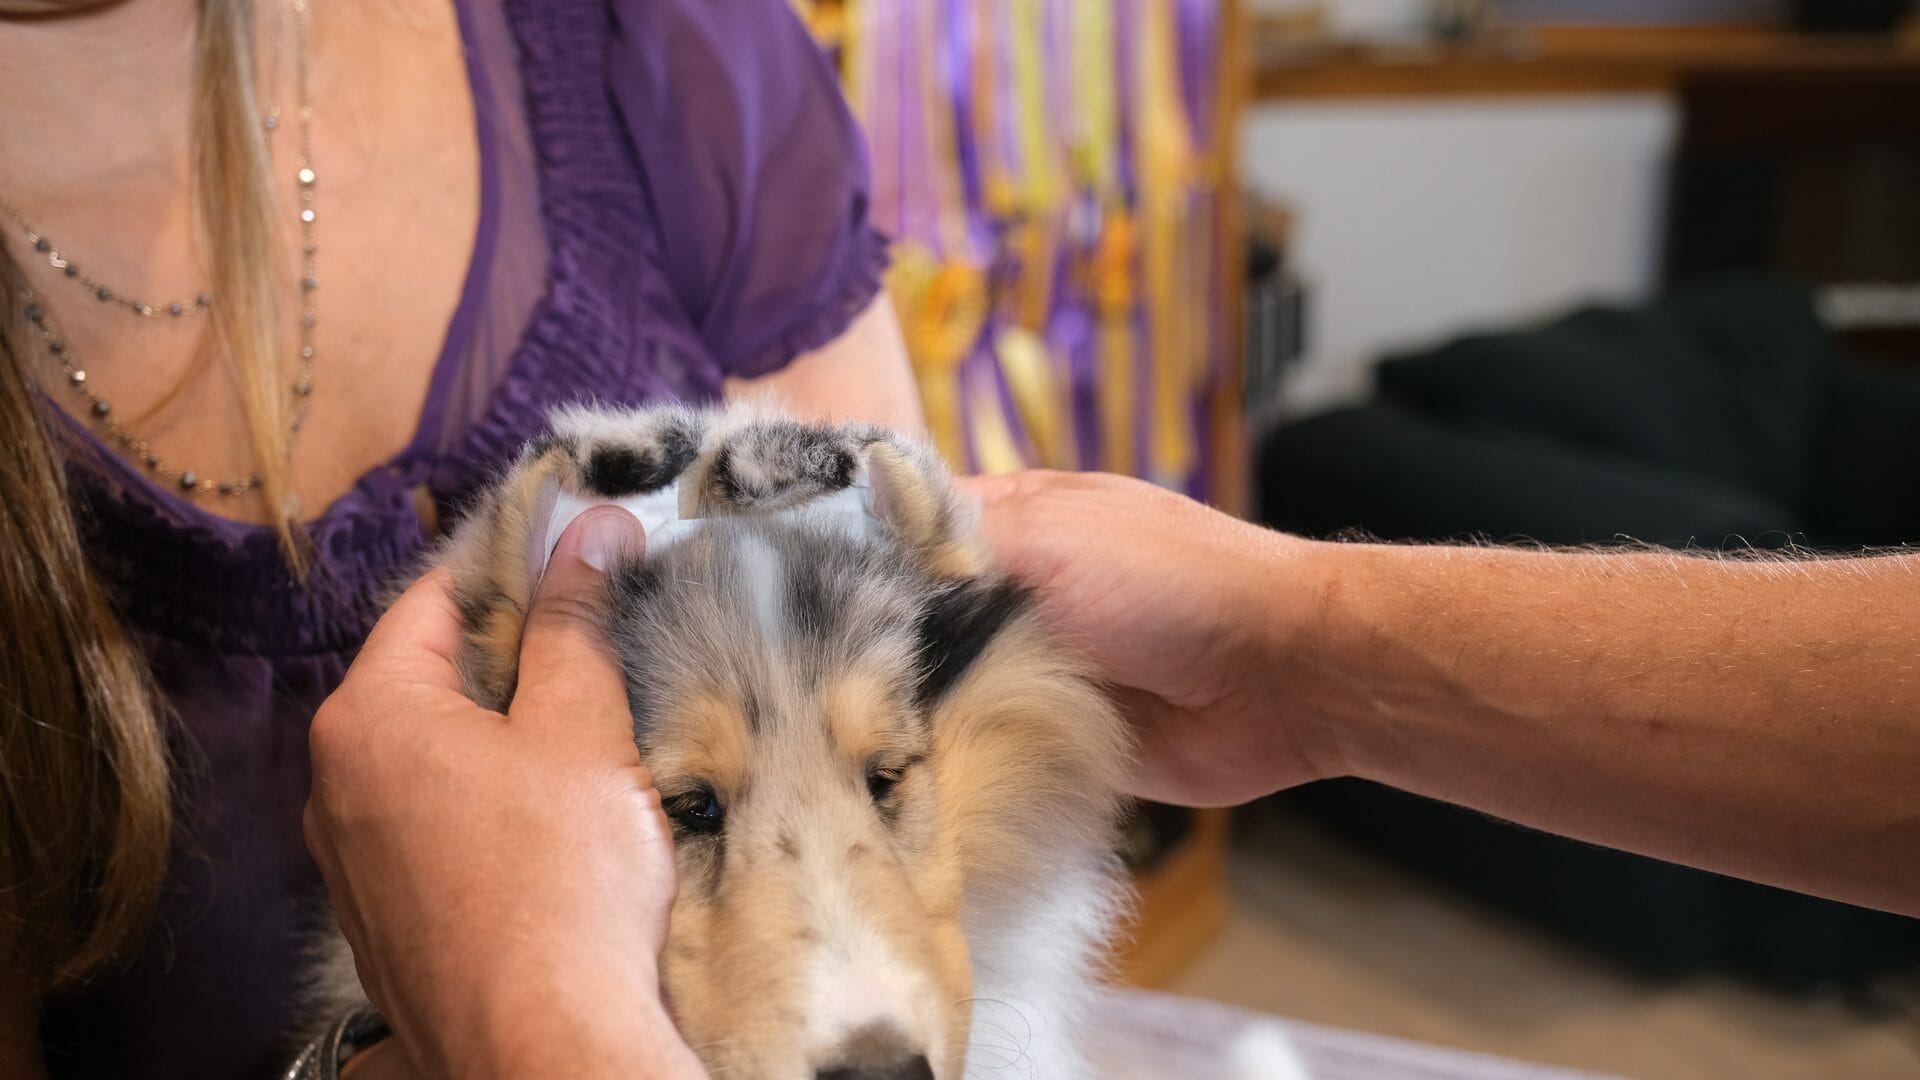
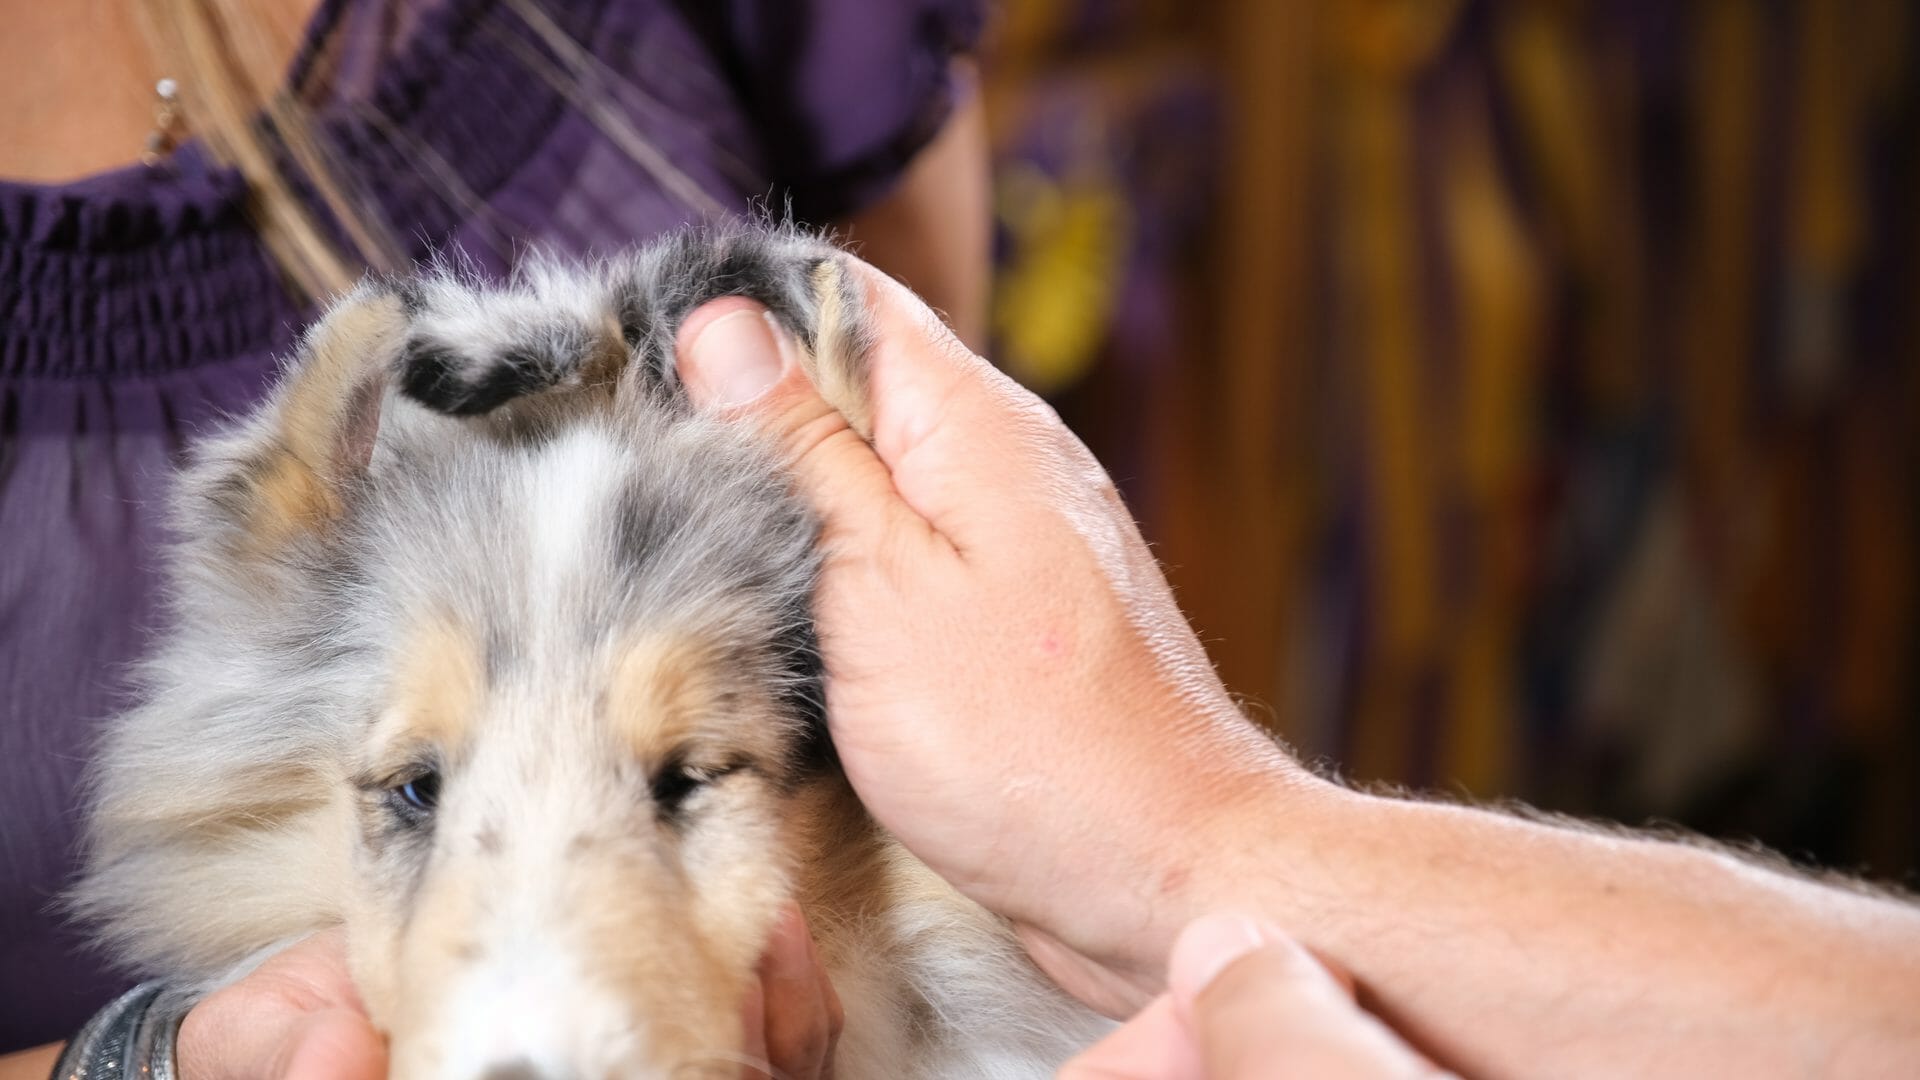
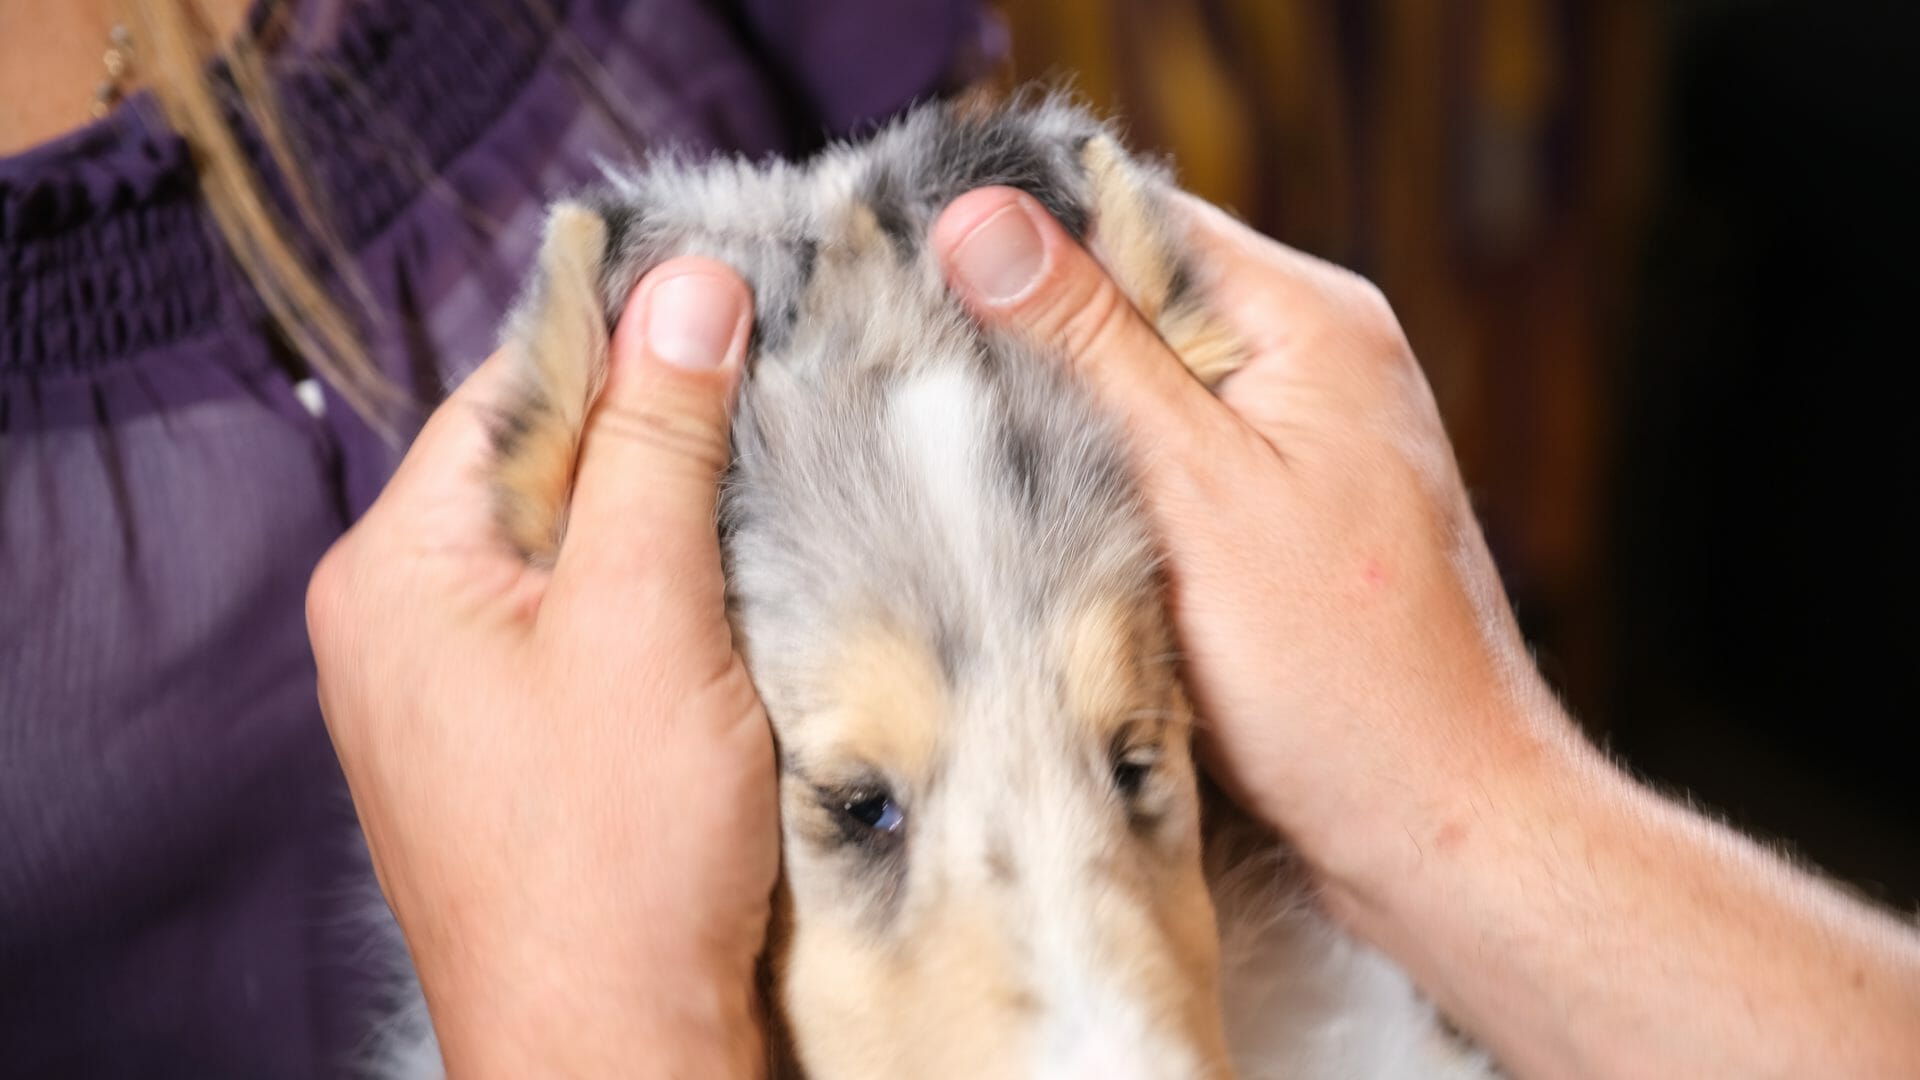
Next, pull the other side of the cross brace across to the other ear and place the tab in the same position as the first ear. Immediately put another small strip of tape over the tab to “sandwich” that side. Press tapes together with your thumbs to mold the ears into the proper cupped shape. Makes sure no hair is caught or pulled by the tapes. If the puppy is shaking his head in discomfort, search for the cause. If the tapes are pulling any hair, snip the hair rather than removing the tapes to restart.

A cross brace of proper length will pull the ears up on the head, but not so close that they touch or the ears fold in. Ears should be erect with a 3/8”-1/2” gap between them. Ears taped too tightly will cause an unnatural set and shape, and the ear tapes can pull loose. If the cross brace is pulling the ears too tight, cut it in half between the ears try again. Cut a slightly longer cross brace and reapply.
NOTE: If you are working with wide-set ears or a broad backskull, you will need to utilize a longer cross brace and cannot pull the ears as tight. Doing so will cause the ears to fold in unnaturally. Never pull the ears past 12 o’clock above the ear auricle location. While taping ears won’t correct an incorrect ear set or shape, it can help the ear set to develop into the best version of itself.
4. Tape Ear Tips Over
The final step is to tape the ear tips over. The Collie and Shetland Sheepdog Standards call for the ear to be carried ¾ erect with ¼ tipping forward. If the ears are properly shaped, rarely is the break placed too high. Tips that go high are generally the result of ears that are not taped long enough rather than being taped too high. If the ear is flatter, thicker, or wider, the break may need to be placed lower for the tip to hold, but understand that the dog’s expression will be negatively affected – giving a more cumbersome, heavy, or dull appearance.
Set the Break
Before taping the tips over, set the break in the proper location. Fold the top quarter of the ear over straight down the center of the ear. Avoid tipping the ear over too far or toward the outside edge, as some popular articles and videos instruct. The Japanese tape will take the breakpoint and provide a visible line for applying the ear tip tapes.
Ear Tip Tapes – “Triple-Double” Technique
To tape the ear tips over, we utilize several “double” techniques to create the perfect break in the ear. These small details result in improved results.
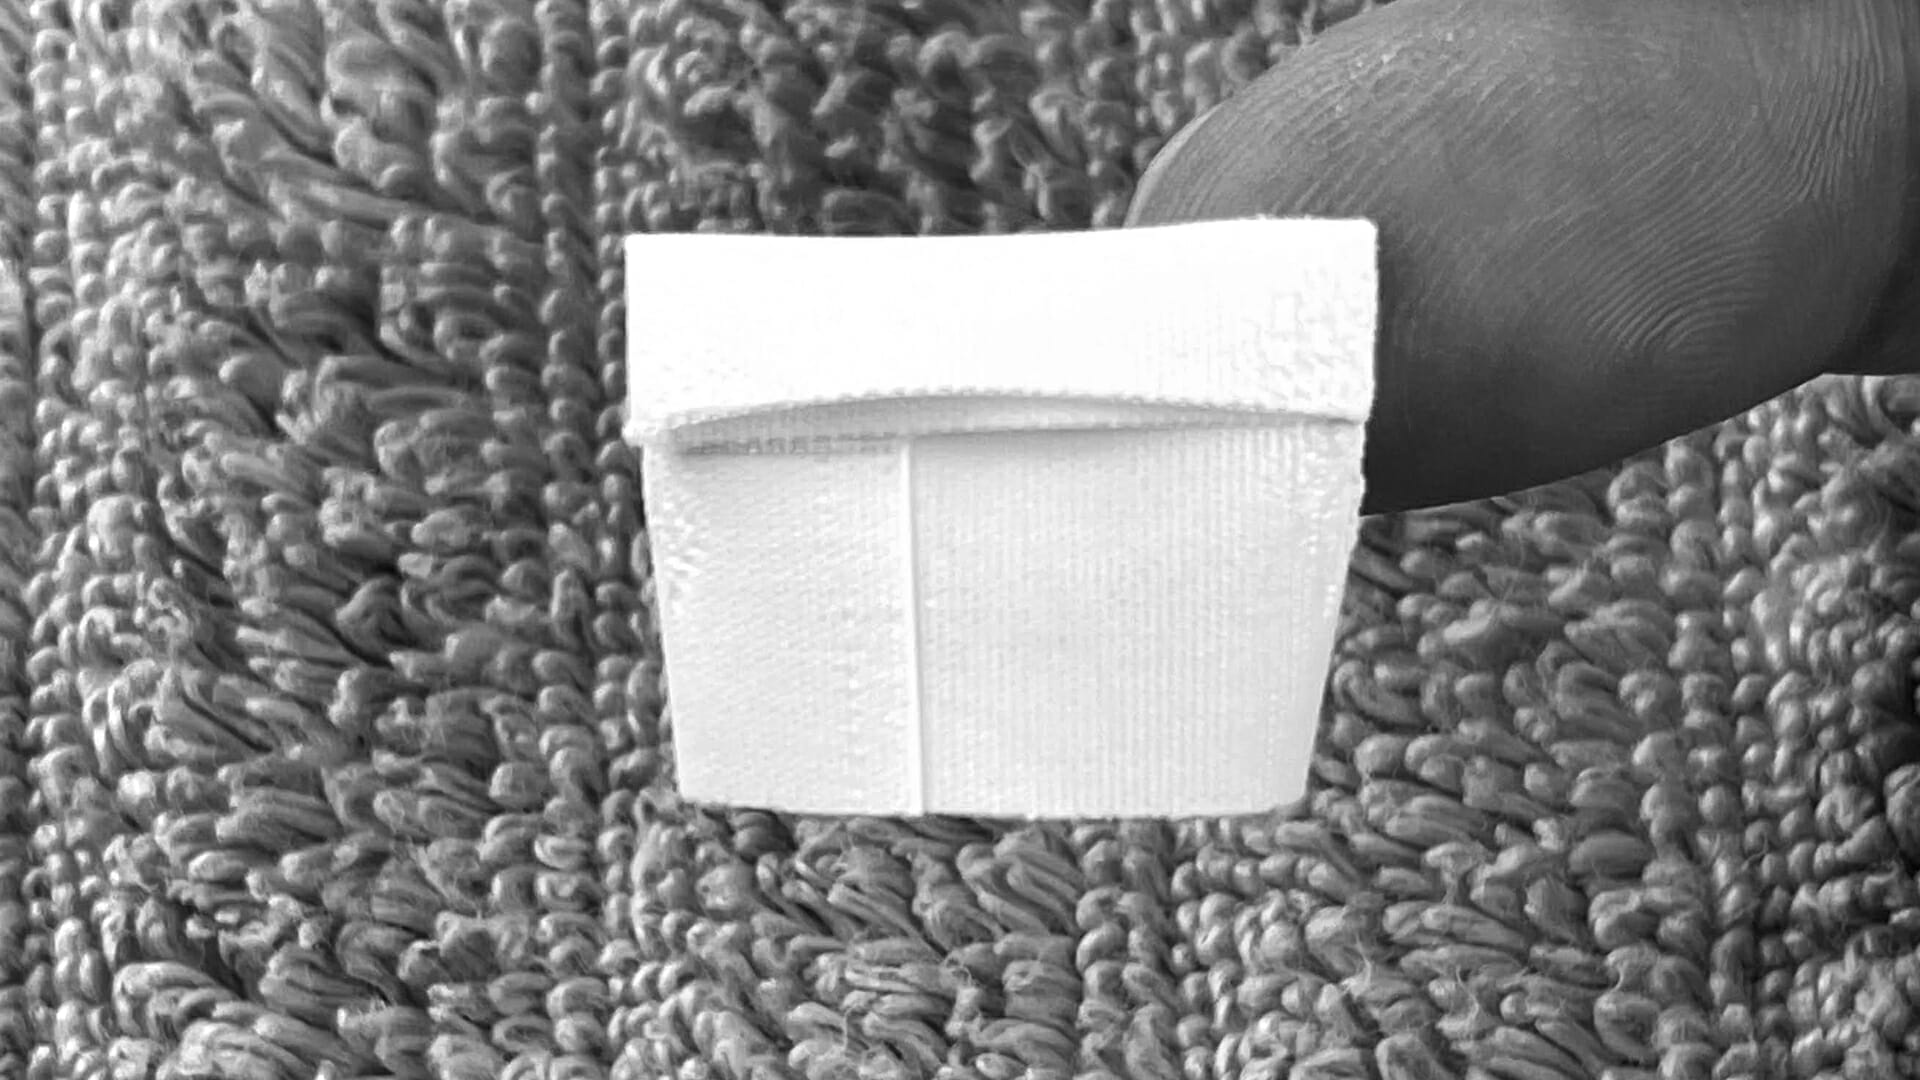
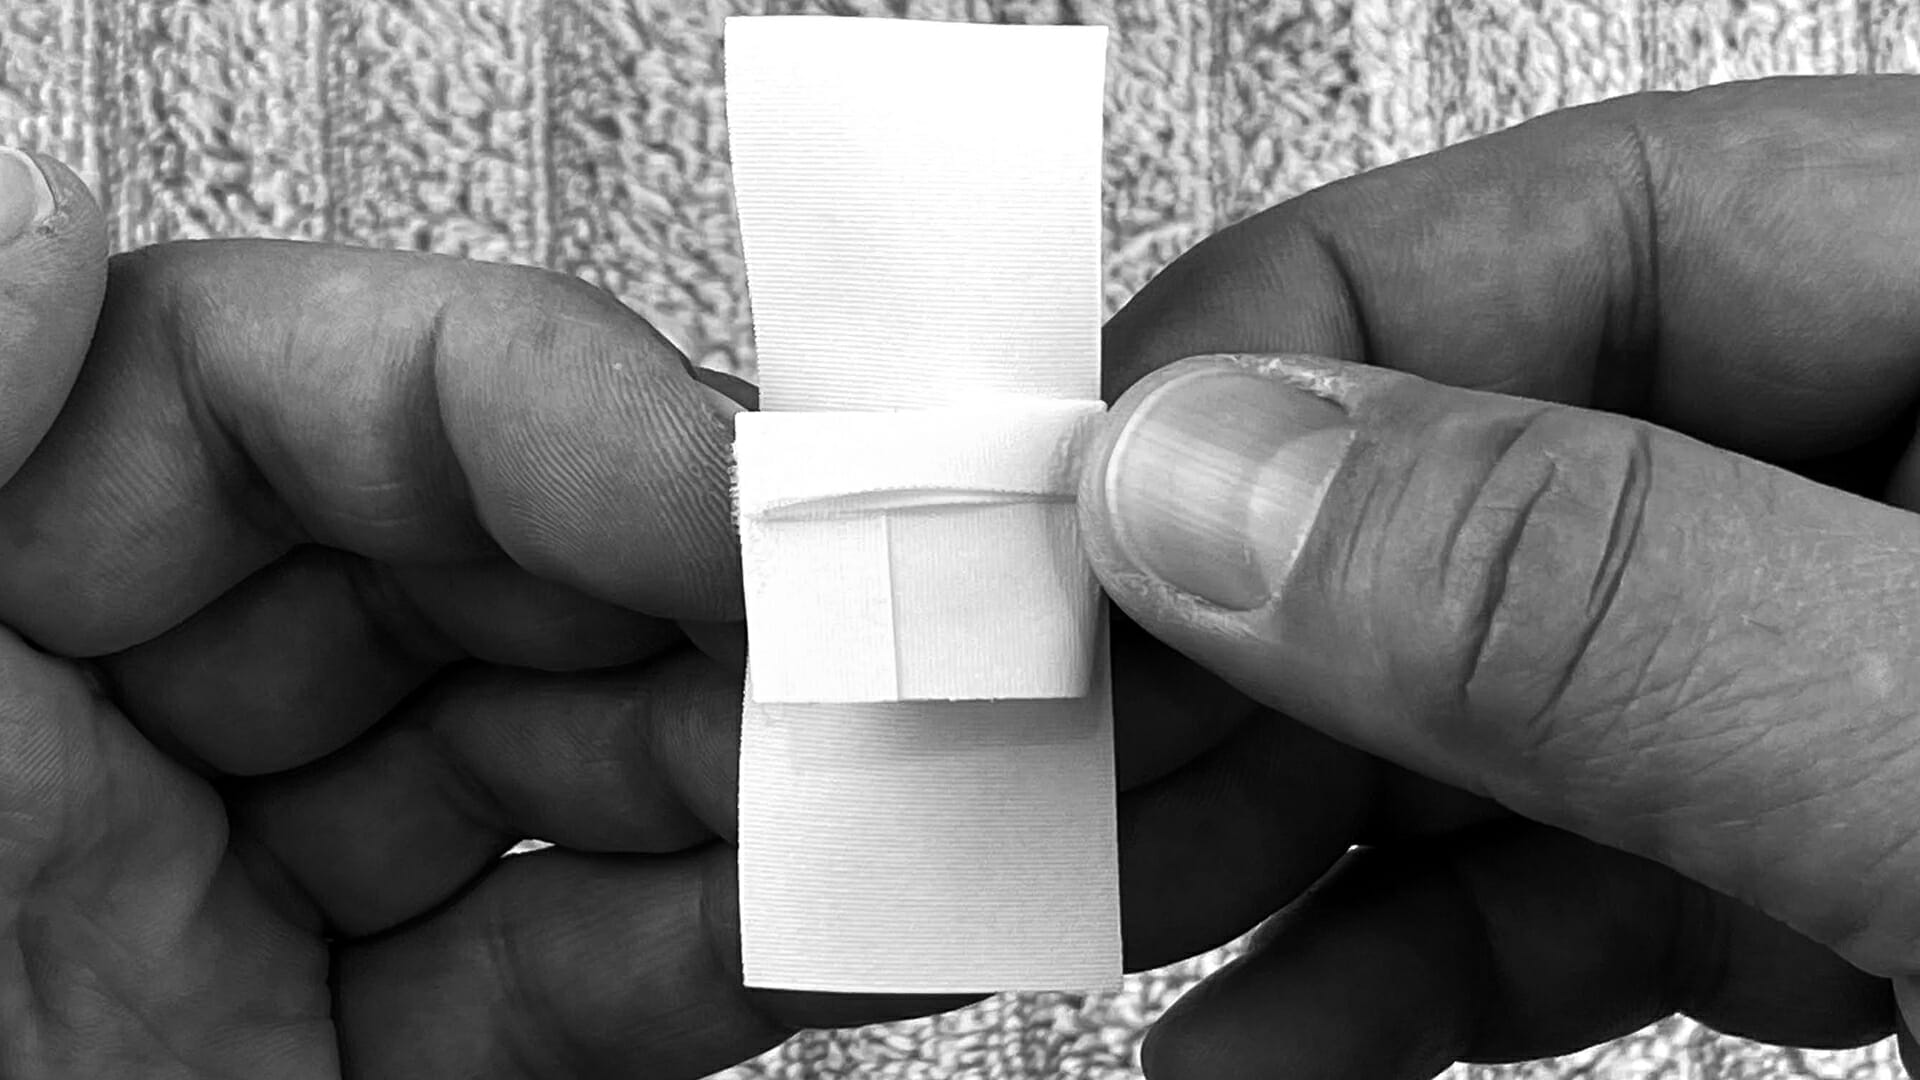
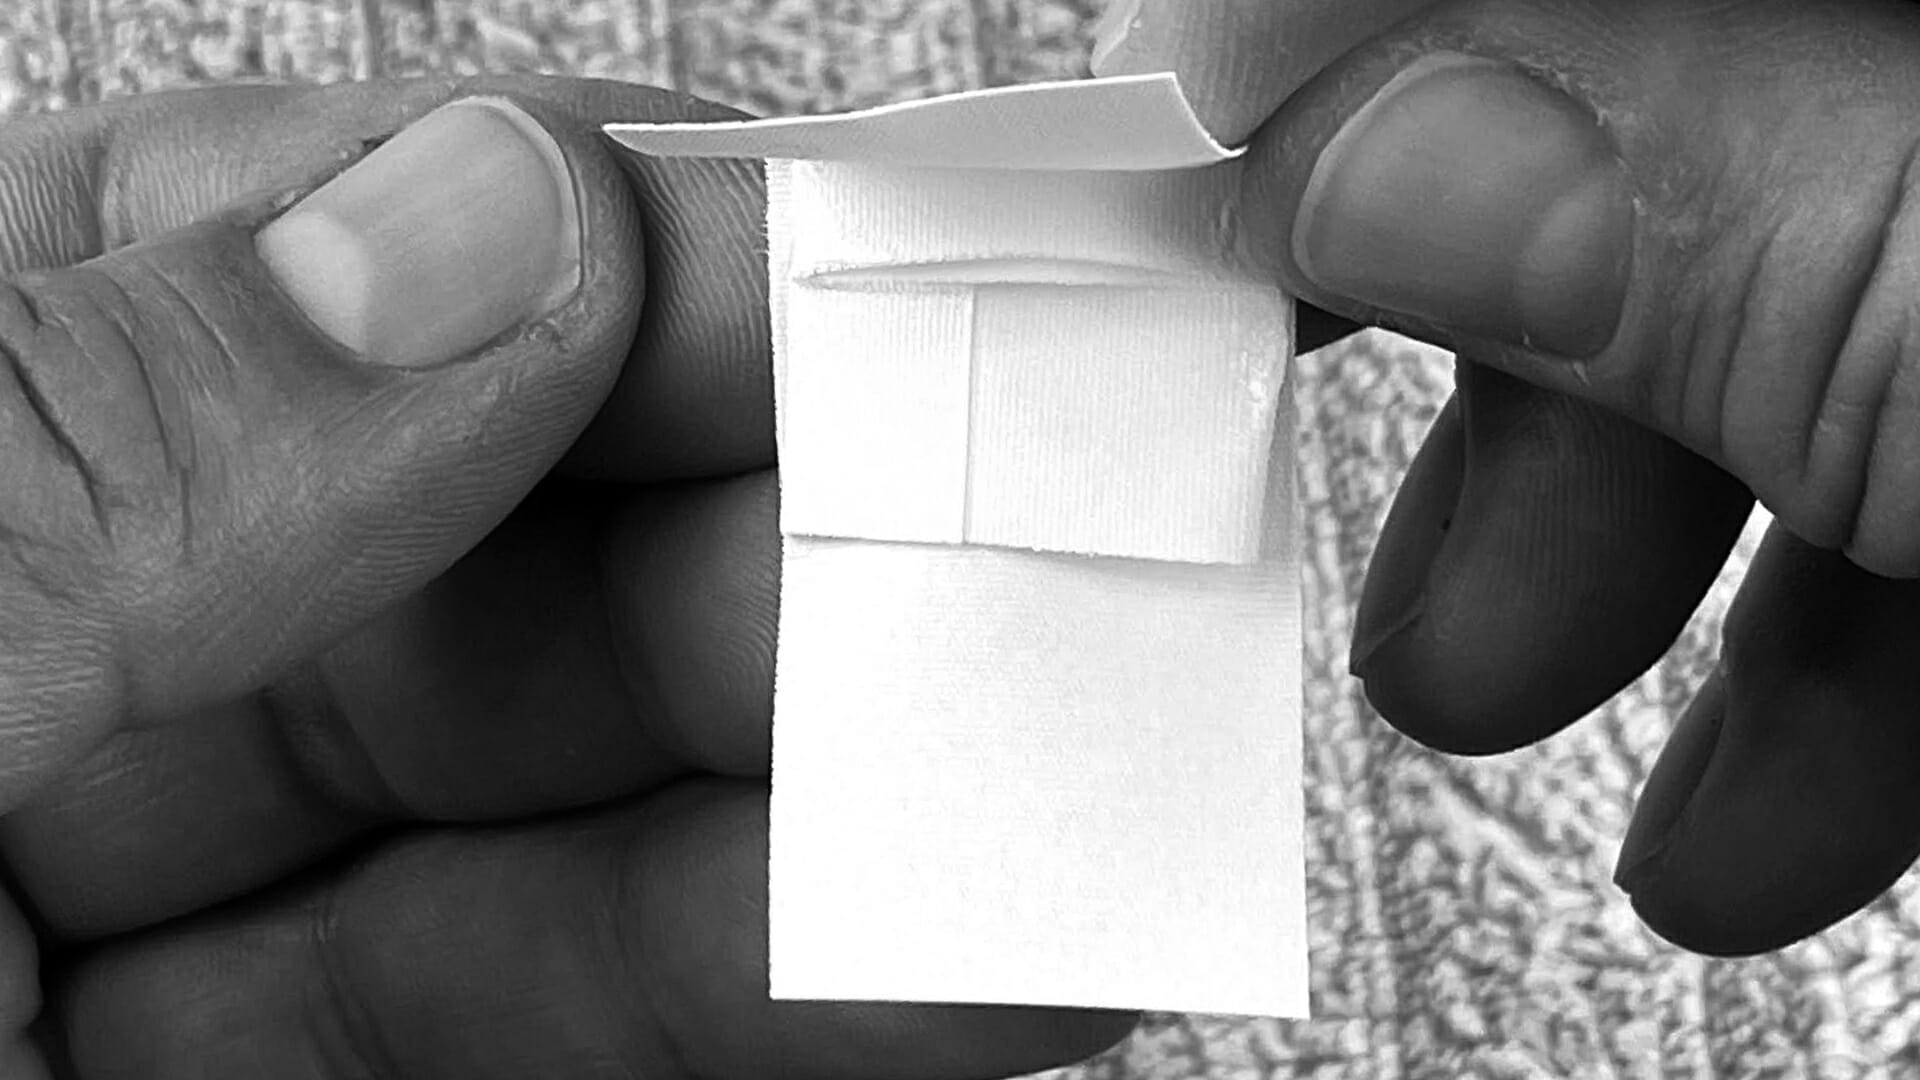
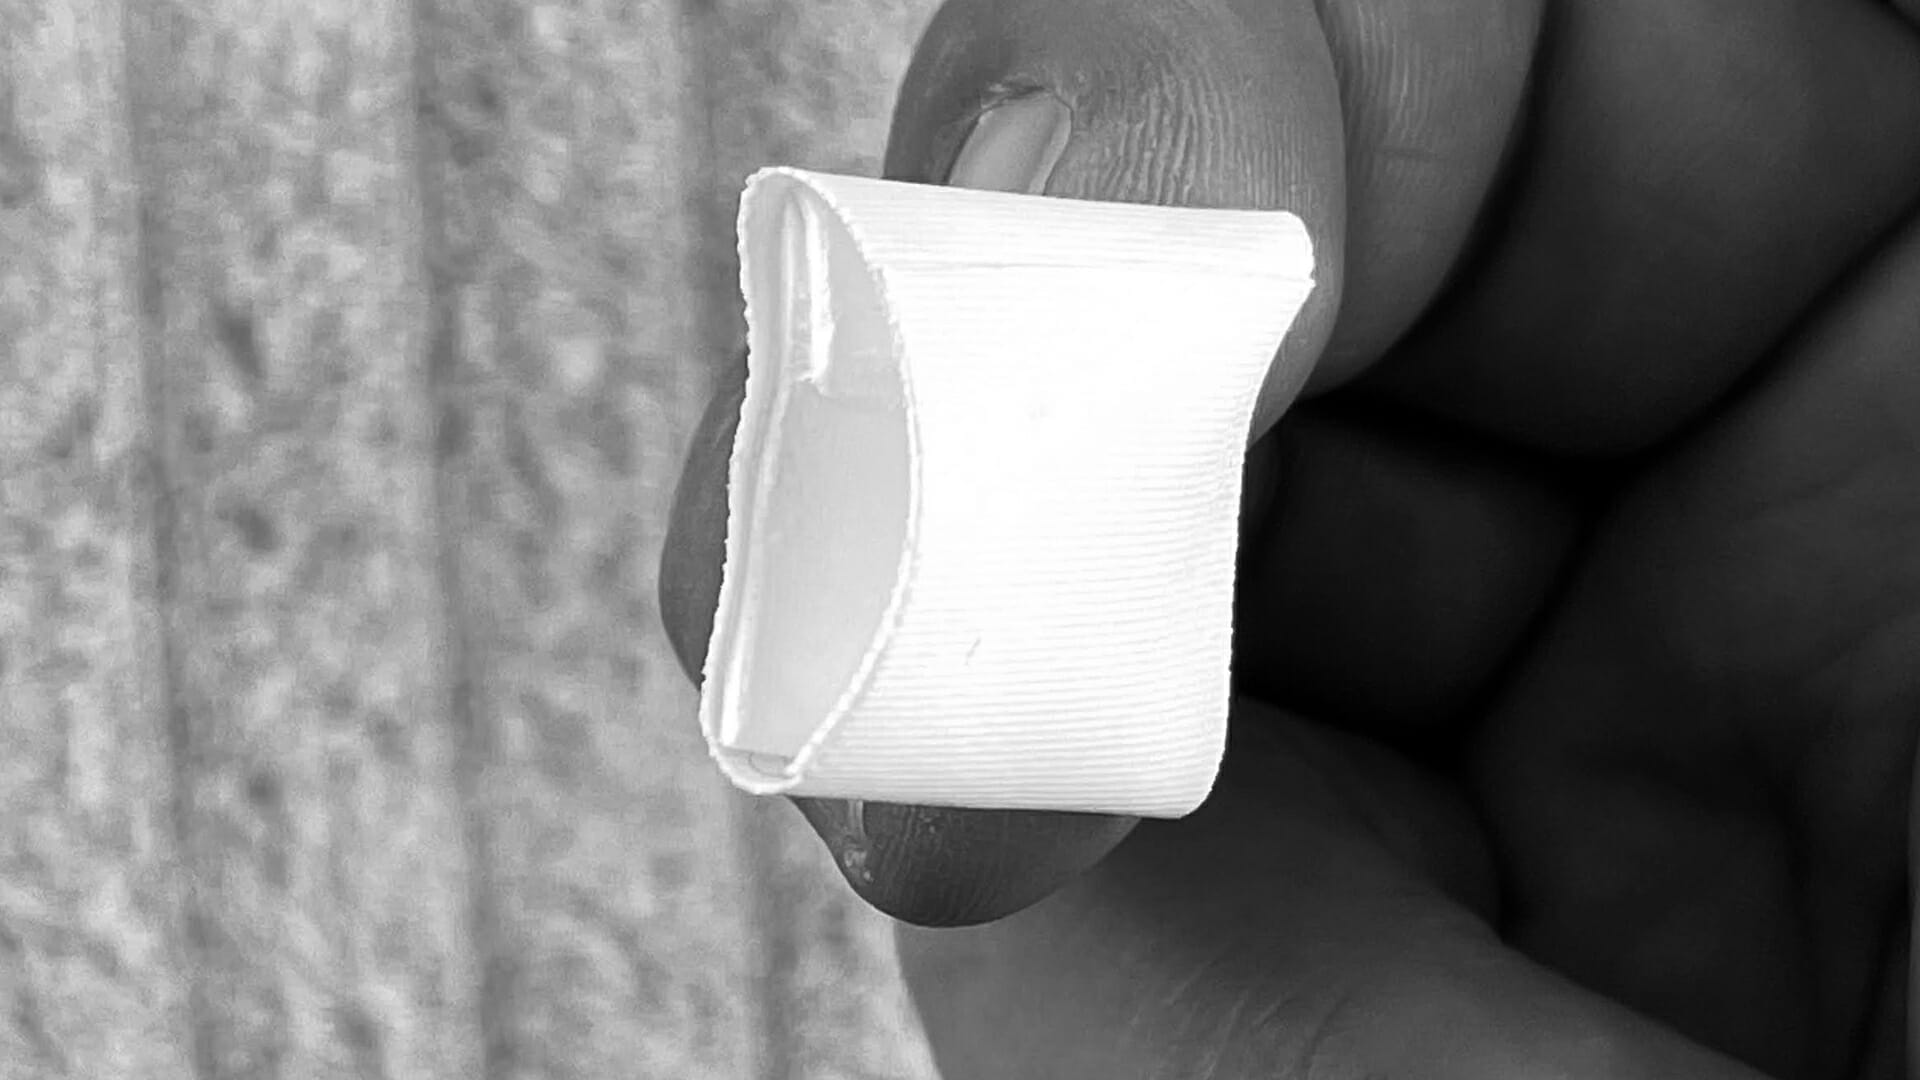
Rather than using a standard single tape loop, we use a double loop. Cut two short strips for each ear. Make the first loop – sticky side out – then double one open edge over on itself. Next, place it in the middle of the non-sticky side of the second piece of tape, folded edge up. Finally, loop the second piece around the first piece, sticky side out. The folded end inside makes the top thicker, creating a more rounded break rather than an unnatural crease.
Step-by-Step Photos: Making the Double Loop

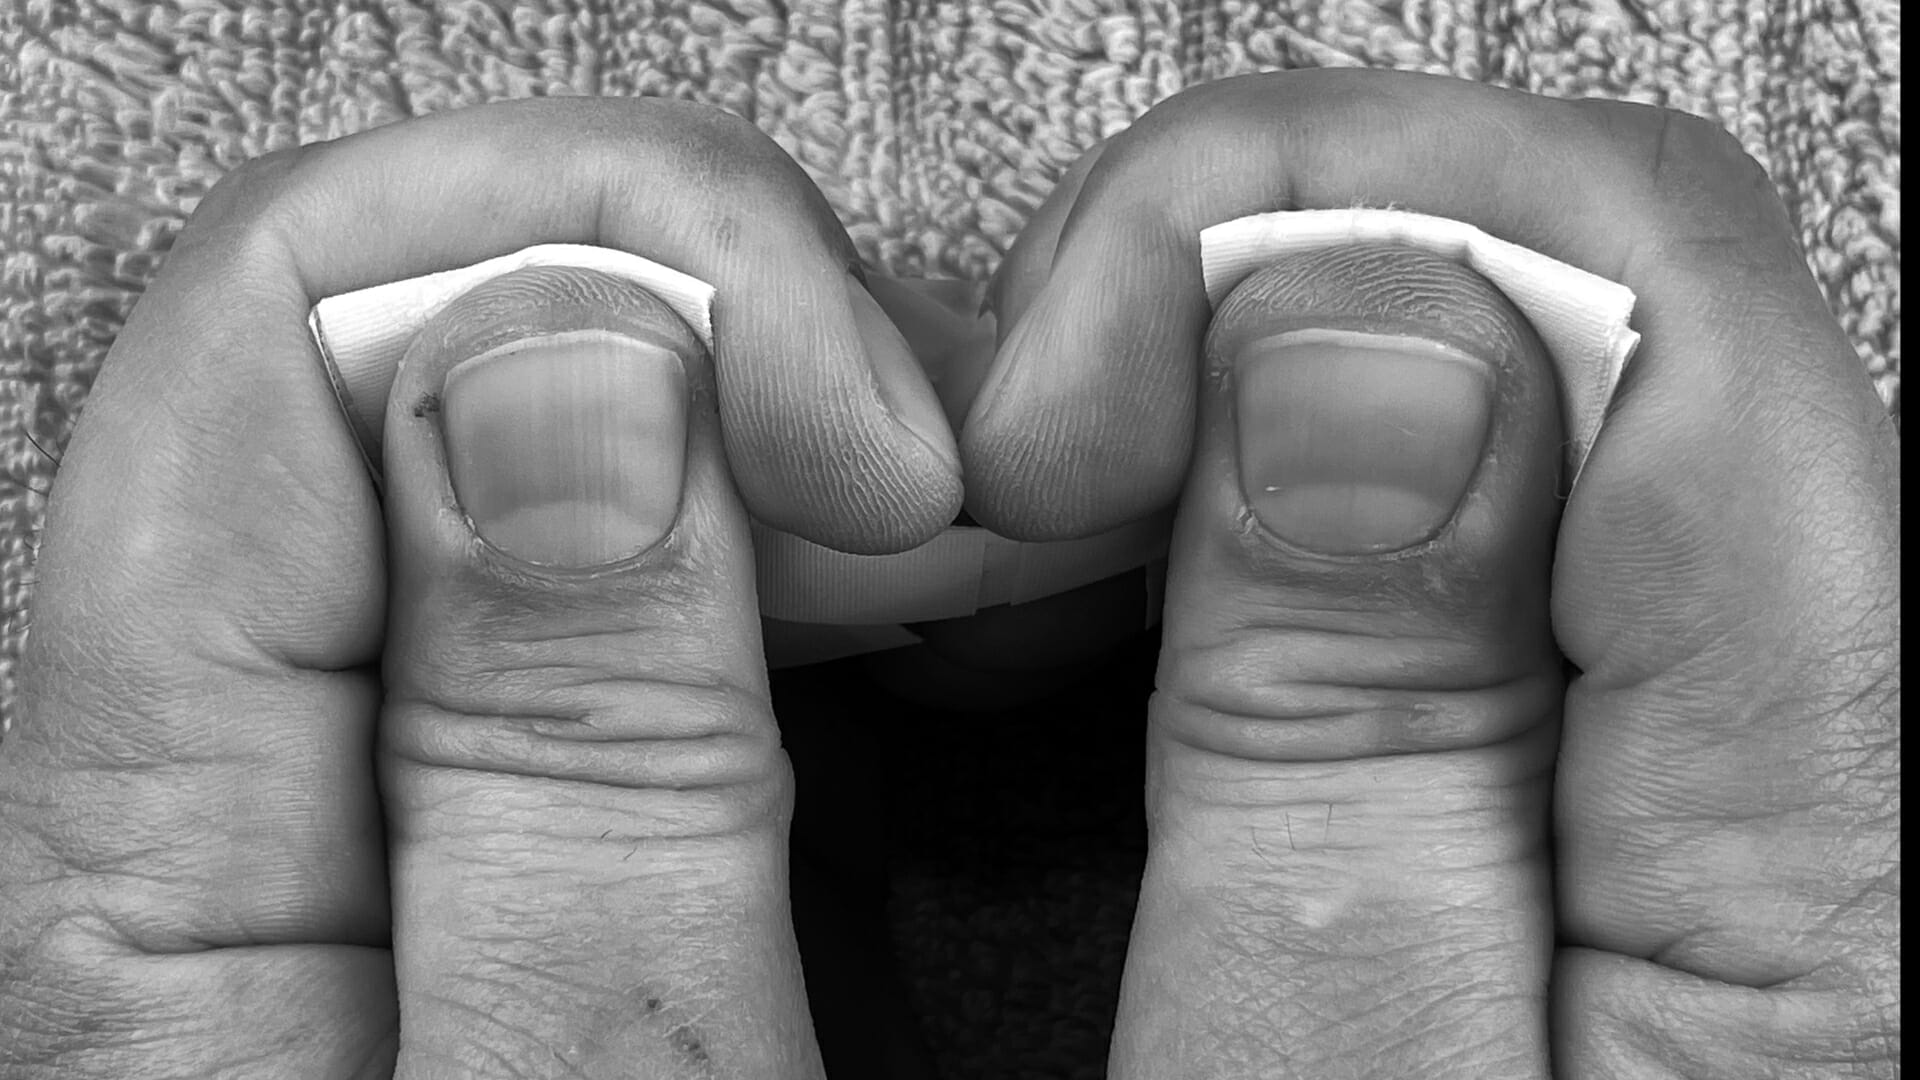
Finally, apply the double tape loop, thick edge up, just below the break line previously set in the ear. Press the tip down on the tape with your thumb, then wrap your index finger around the ear tip to double fold the ear tip vertically around the thumb. Hold for a few seconds. This double fold helps form a natural curved break that will help keep the tip from rising as the Collie or Sheltie gets older. Repeat on the other ear.

Once the tapes are completed, place thumbs again in both ears to press the tapes in place, and hold for a few seconds. Let the heat from your hands help set the tapes and form the desired shape.
Summary:
In review, here are the steps to create the proper complete ear brace using Japanese tape:
Step-by-Step Photos: Complete Ear Tape Assembly


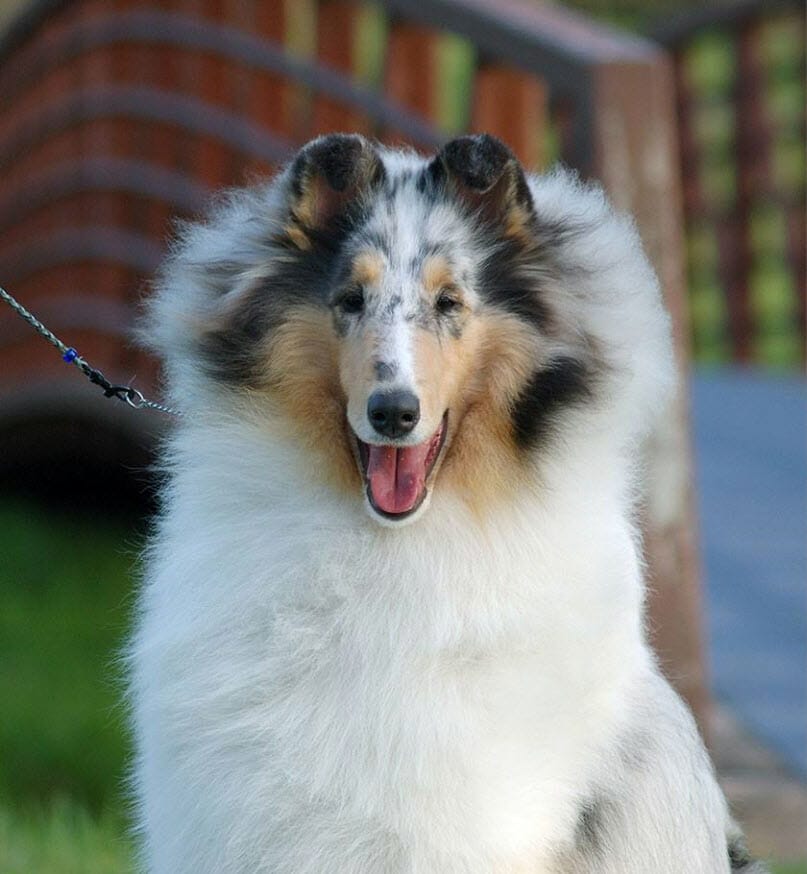
We now have a perfect set of ear tapes. An extra benefit of this method is the ear tapes are almost completely hidden. There is no exposed material for littermates to chew or pull on or for the puppy to catch a claw on.
Correctly done, these ear tapes won’t come loose and will need to be removed due to ear growth. Remove ear tapes after 12-14 days or at the first sign of loosening. Leave the ears out of tapes for 12-24 hours, then retape. Collie and Sheltie puppy ears should be taped until six months of age. After six months, it is still advisable to keep ears taped over in show puppies to maintain a correct tip, but omit the cross brace.
So, toss out the moleskin, yarn, and glue. Taping ears the Wyndlair Way is a proven method for great results. We encourage you to try it with your next litter or show prospect.
Disclaimer: This article may contain affiliate links, which means that if you click on one of the product links and make a purchase, we may receive a small commission. This commission helps support the site and allows us to continue to create helpful content. However, please understand that we only recommend products that we use ourselves and genuinely believe will add value to our readers.